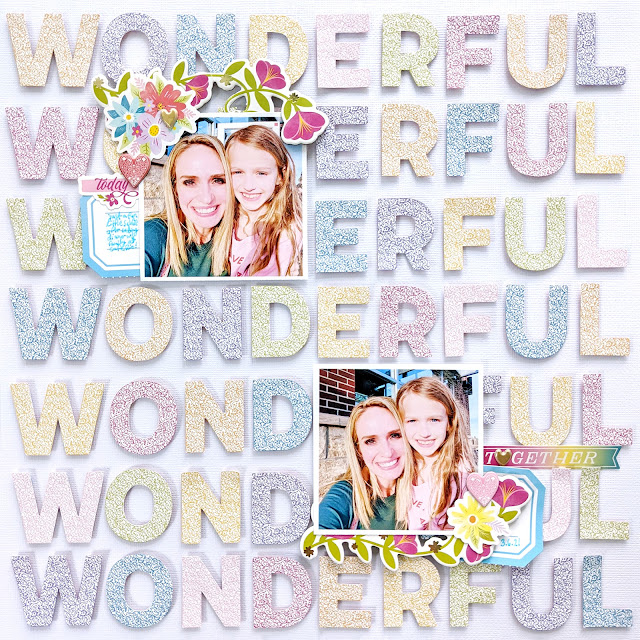
Hi friends! Here is a new layout I made with Wonders which features the repeating "wonderful" B-side of Paper 19!
I started by fussy cutting out all of the individual "wonderful" letters from Paper 19. It took about two hours? I did it over several days and didn't really keep track, but it helped that I made all the corners straight instead of the slight rounded corners that they have. Simplify!
Once all of the letters were cut out, I grabbed a sheet of textured white cardstock and adhered all of the letters in place using foam squares for dimension AND I mixed them up instead of putting them all together in the same colorways. I just eyeballed the placement of the letters so they're a little crooked and wonky and I like that :) I also eliminated the red "wonderful" letters to give the layout more space between the words.
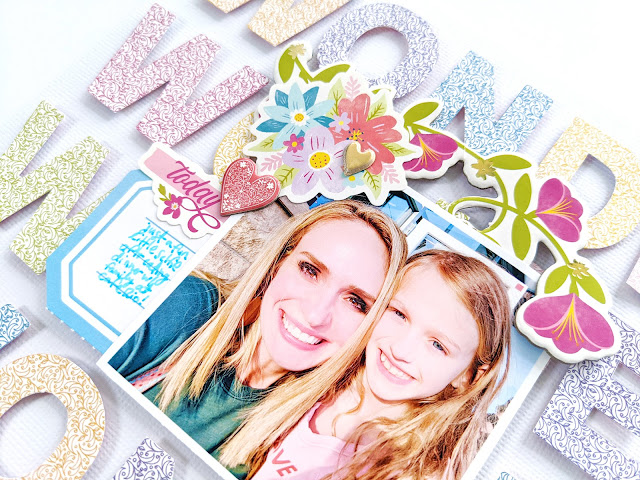
Time for photos and embellishing! I printed two 3" square photos, trimmed them out leaving a white border, and place them on that layout, diagonal from each other and leaving an uncovered "wonderful" across the center.
To embellish, I tucked flower border Chipboard Stickers under the pics, added flower Cardstock Stickers to the corners, and trimmed a blue journaling spot from the Ephemera Die Cuts in half to go under both photos. I journaled on one and wrote the date on the other. There are also two heart Chipboard Stickers, "today" and "together" Cardstock Stickers, and a gold heart Puffy Sticker. That's about it!
I hope this layout inspires you in some way and you pick up my Wonders collection to create wonderful things! :)
SUPPLIES: Patterned paper, stickers, die cuts, embellishments: WONDERS; white cardstock


I spotted this at you scrapbook dot com gallery this morning and gasped! A beautiful LO Paige ! 💛🌸
ReplyDelete