Sorry I skipped a month! Between teaching my STITCHED class at Studio Calico, teaching a class to 80 wonderful German scrappers, my parents coming to visit for 10 days, guest designing for Shimelle and Bella Blvd, so on and so forth, I just had to let something go to survive. But, things are calming down again, and I'm so happy to have my two monthly American Crafts layouts completed for the month and ready to share :)
1ST DAY OF PRIMARY by Paige Evans
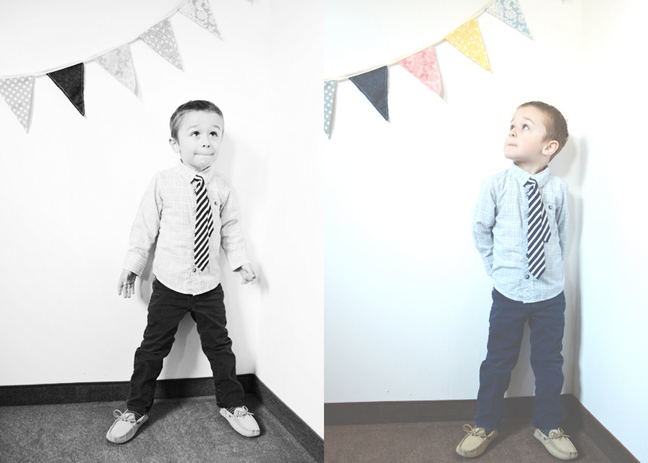
Journaling says: I was so nervous that Fox wouldn't like Primary because he looooved Nursery, or rather, playing with the toys. But he actually seemed to enjoy it, especially being sung to and participating. I'm lucky that I get to sit in the row behind him and watch him learn songs and make friends and... discipline him now and again. He is such a handsome guy with his church clothes and cute toddler ties! Love him!
How to: Die cut a starburst from white cardstock and back each section with paper from the Boys Rule collection by Crate Paper; adhere to a teal cardstock card base. Layer journaling cards, frames, photos, wood veneer shapes, vellum die cuts, a tag, and more on the center. Stitch Thickers and alphabet stickers above and below the photos to create the title. Adhere star embellishments on the top left and bottom right corners then drop blue spray mist over them. Journal around the starburst to finish.
Supplies: Cardstock, roller date stamp, pen, adhesive: American Crafts; Patterned paper, Thickers, stickers, chipboard, frames, die cuts, star sequins, wood veneer shapes: Crate Paper; Spray mist: Studio Calico; Die cut machine: Silhouette Cameo by QuicKutz; Sewing machine: Brother; Thread: Coats & Clark
*************************************************************
SZÉCHENY BATHS by Paige Evans
Journaling says: Pretty sure this is one of the coolest places we've ever been! We didn't have swimsuits so we just let the kids go in the nude, ha!
How to: Punch starbursts from the #summer papers by American Crafts then trim each circle in half. Arrange the half circles in a quilt-inspired pattern down the left half of a blue cardstock layout base. Layer photo overlays, journaling spots, and photos down the right edge. I drew "Baths" in Adobe Illustrator with the pencil tool then die cut it from white cardstock; adhere it along with Thickers to create the title. Staple and stitch over the title and place a journaled sticker below. Scatter embellishments like badges, corkboard shapes, die cuts, wood veneer shapes, and more, around the layout to keep things interesting! Stamp the date on the bottom right corner and drop spray mist around the layout, like always :)
Supplies: Cardstock, patterned paper, Thickers, corkboard, wood veneer, photo overlays, badges, stickers, die cuts, roller date stamp, pen, adhesive: American Crafts; Spray mist: Studio Calico; Die cut machine: Silhouette Cameo by QuicKutz; Sewing machine: Brother; Thread: Coats & Clark; Staples: Tiny Attacher by Tim Holtz; Starburst punch: Martha Stewart Crafts


