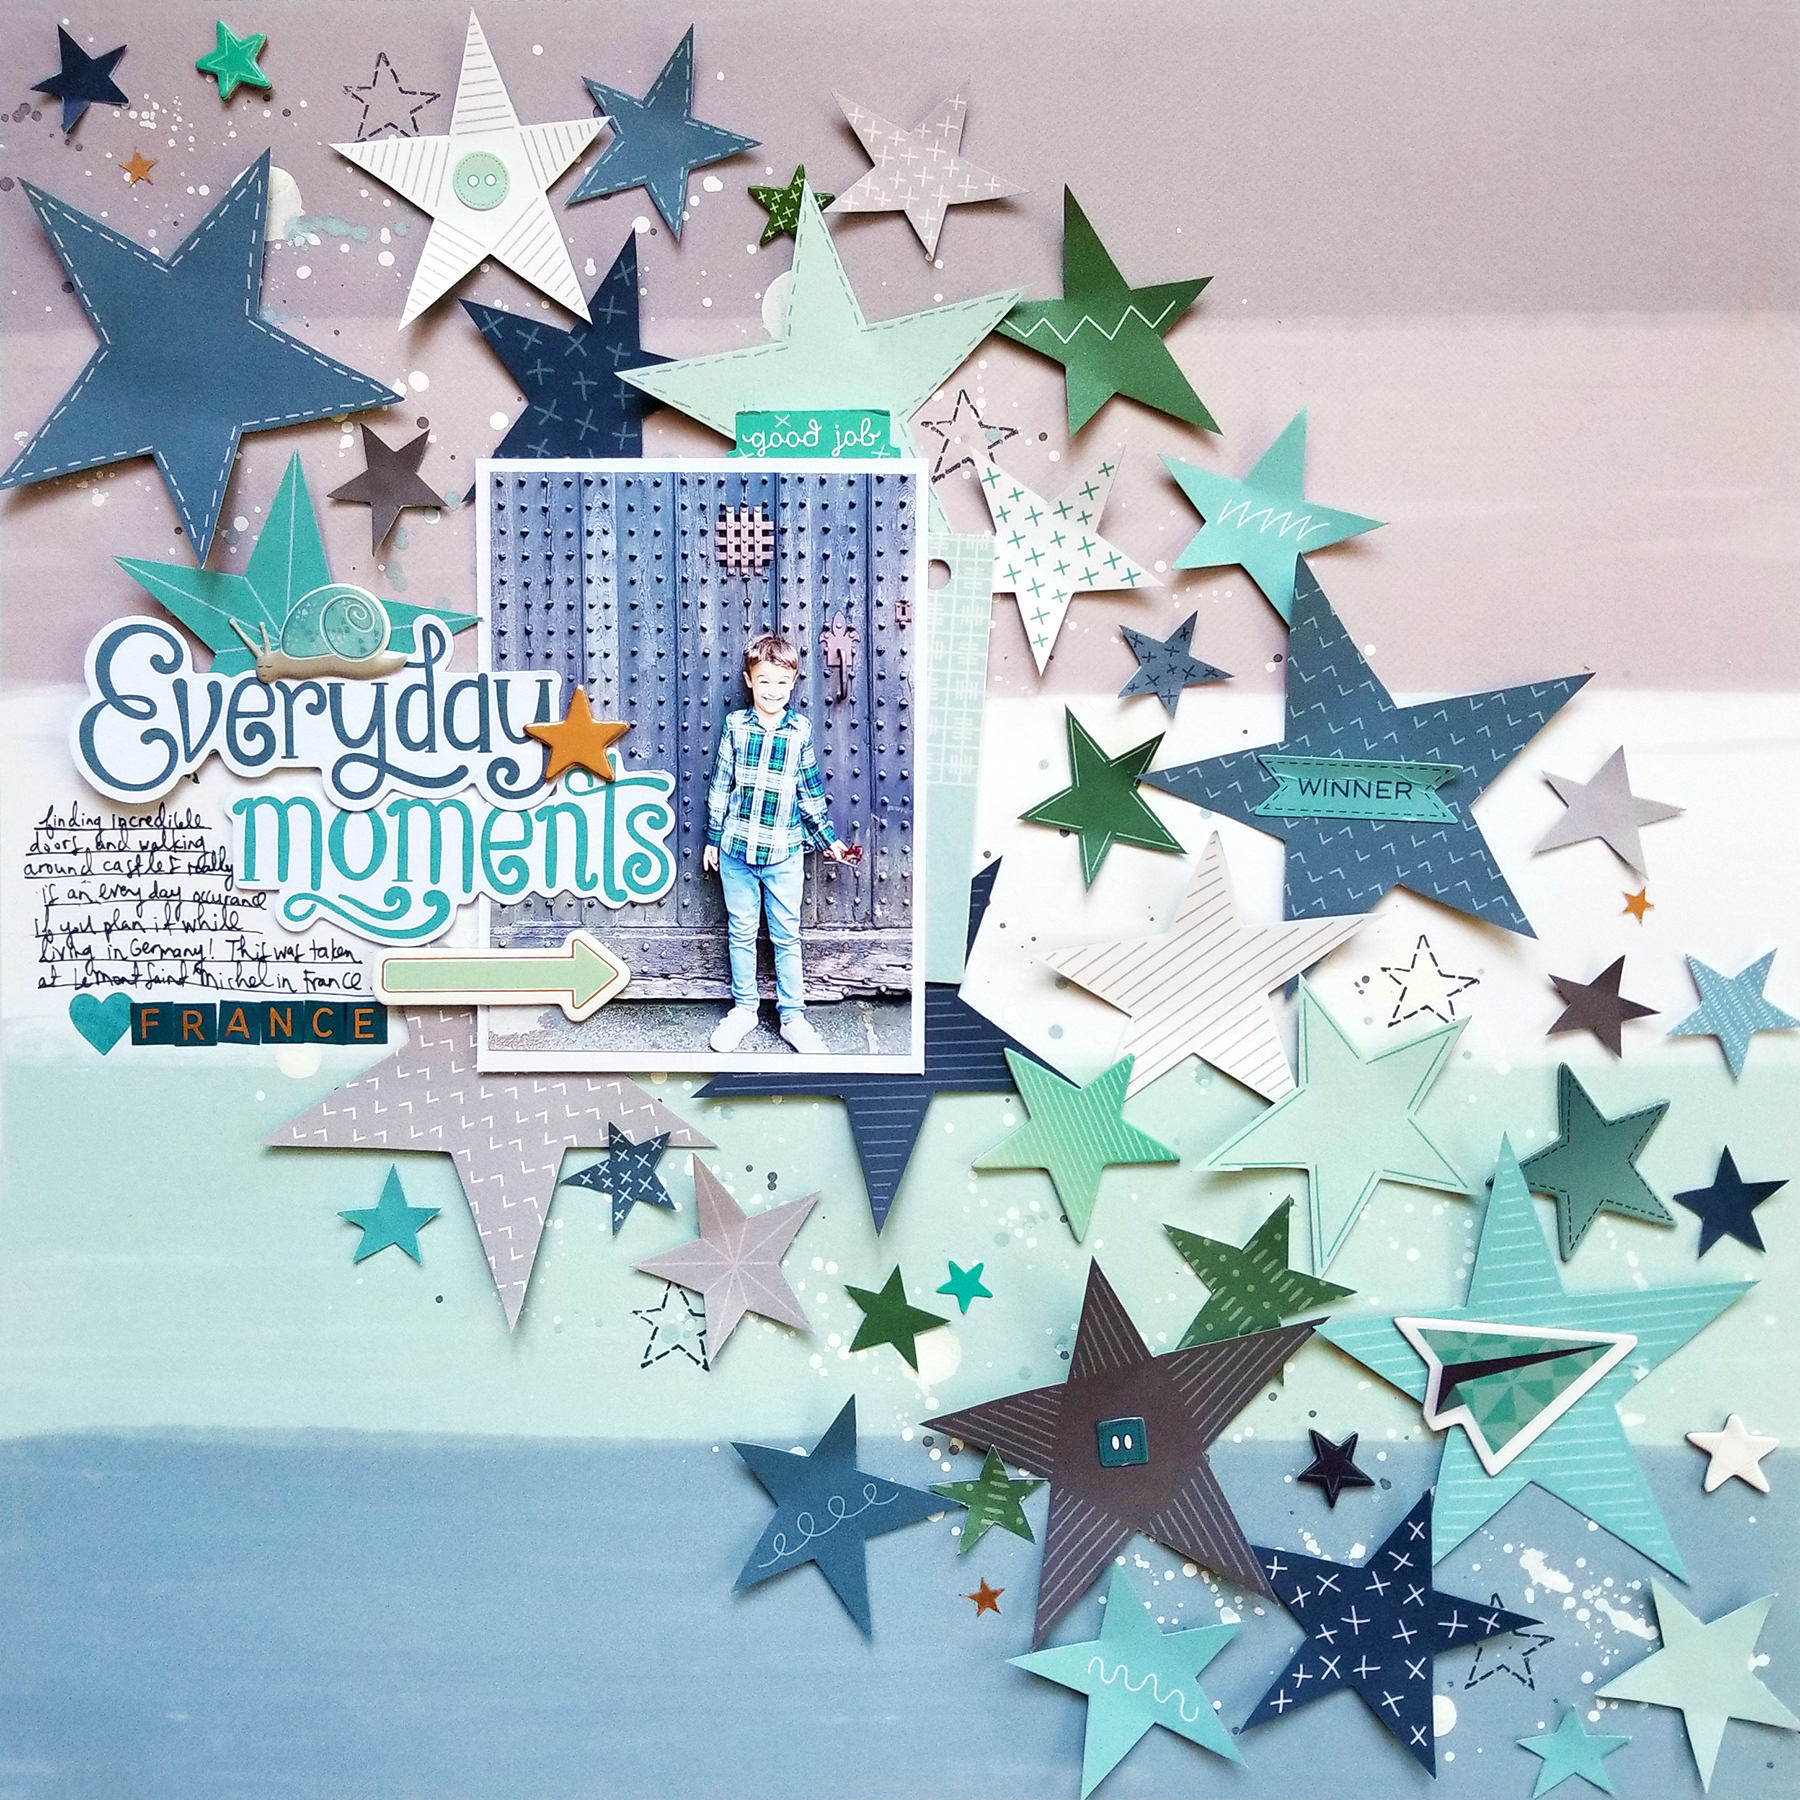
Today I'm sharing another layout I taught how to make at Crop & Create in Thunder Bay featuring a whooooole bunch of fussy cut stars!
Begin with Paper 19 B-side as the background and splatter it with white acrylic paint as well as teal, gray, and navy watercolors diagonally from the top left to bottom right corner; set the paper aside to dry. Spend some time fussy cutting as many or as little (I used almost every single one) of the stars from Paper 11. Adhere the stars diagonally over the paint using foam adhesive to attach them for dimension. Start with the biggest stars first and then fill in the gaps with the medium and small stars. In the gaps, stamp dashed stars with black ink from the Layerable Stamp Set. Adhere a 3x4” photo on the upper left side.

Tuck a mint Ephemera Die Cut tag under the right side of the photo and place a “good job” tab sticker from the Sticker Book above. Place “Everyday” and “moments” Ephemera die cuts overlapping the left side of the photo then write journaling with a black pen below. I like to draw the journaling lines with a pencil first and then go over it with pen. Place mini navy alphabet stickers from the Sticker Book below the journaling for a sub title along with a blue transparency heart sticker also from the Sticker Book. Embellish the title with a snail Puffy Sticker, gold star Chipboard Sticker, and mint arrow Chipboard Sticker. Embellish some of the fussy cut stars with button stickers and a “winner” sticker from the Sticker Book, a Chipboard Sticker paper airplane, and tiny Chipboard Sticker stars. Finish with tiny star stickers from the Sticker Book scattered throughout the stars.
Supplies: Patterned paper, die cuts, stickers (chipboard, paper, puffy), stamps: Turn the Page by Paige Evans / Pink Paislee; Ink: StazOn; Paint: FolkArt; Watercolors: Loew Cornell; Pen, adhesive: American Crafts


Love love love love love this! LOVING the colors and all those stars!!!!!!!!!!
ReplyDelete