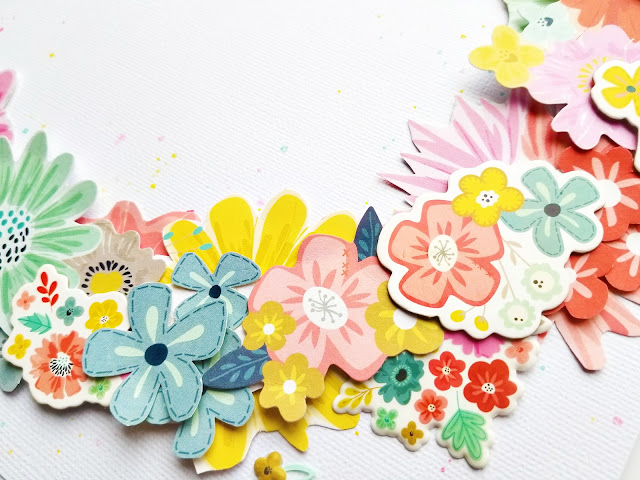
Hello hello! Today I'm sharing another layout I taught how to make at Crop & Create in Thunder Bay, Ontario, Canada! You can never go wrong with a wreath design!


On a white textured cardstock background, I used my Silhouette Cameo to draw a circle with a pencil then splashed watercolors in colors that coordinate with Turn the Page over and around the circle then set it aside to dry. Next I fussy cut some flowers from Paper 02 and groups of flowers from Paper 15.
What I’ve found with layouts like this is it doesn’t need to mirror my design exactly – as long as you place flowers in a wreath, it will look beautiful! That said, I will explain my rhyme and reason behind why and where I placed flowers: temporarily adhere the photo in place on the left side then place the large fussy cut flowers from Paper 02 around the circle – don’t add adhesive to them yet. Next place ALL the flowers from the Ephemera Die Cuts around the circle, leaving room for a title above the photo and journaling below. After the flower die cuts, place the smaller fussy cut flowers from Paper 15. I like to adhere them in groups of like flowers, about 3, 4, or 5 of them in a bunch together. Next, add flowers from the Chipboard Stickers. Move things around as you see fit, then start to adhere everything in place varying between thicknesses of adhesive for lots of dimension and texture. Take a picture of your layout with your camera or phone to refer back to as you’re adhering things in place. Then add the Puffy Sticker flowers, transparency sticker flowers from the Sticker Book, and any other small fussy cut flowers. Under some of the tiny Puffy Sticker flowers, glue pairs of leaf Sequins. The wreath is complete!
Under the photo add the floral polaroid frame from the Ephemera pack. Cut the navy floral Ephemera die cut in half and tuck the halves under the photo. Place floral alphabet stickers from the Sticker Book above the photo to make the title. Write journaling below the photo using a black pen. To finish, trim a piece of the barcode strip from Paper 15 and tuck it below the journaling. Hope you make a layout like this too and see how fast & easy it is!
Supplies: Patterned paper, stickers (chipboard, paper, puffy, transparency): Turn the Page by Paige Evans / Pink Paislee; Cardstock, pen, adhesive: American Crafts; Watercolors: Loew Cornell


Love love love love this! LOVING those flowers and that adorable photo!!!!!!!!!!!!
ReplyDelete