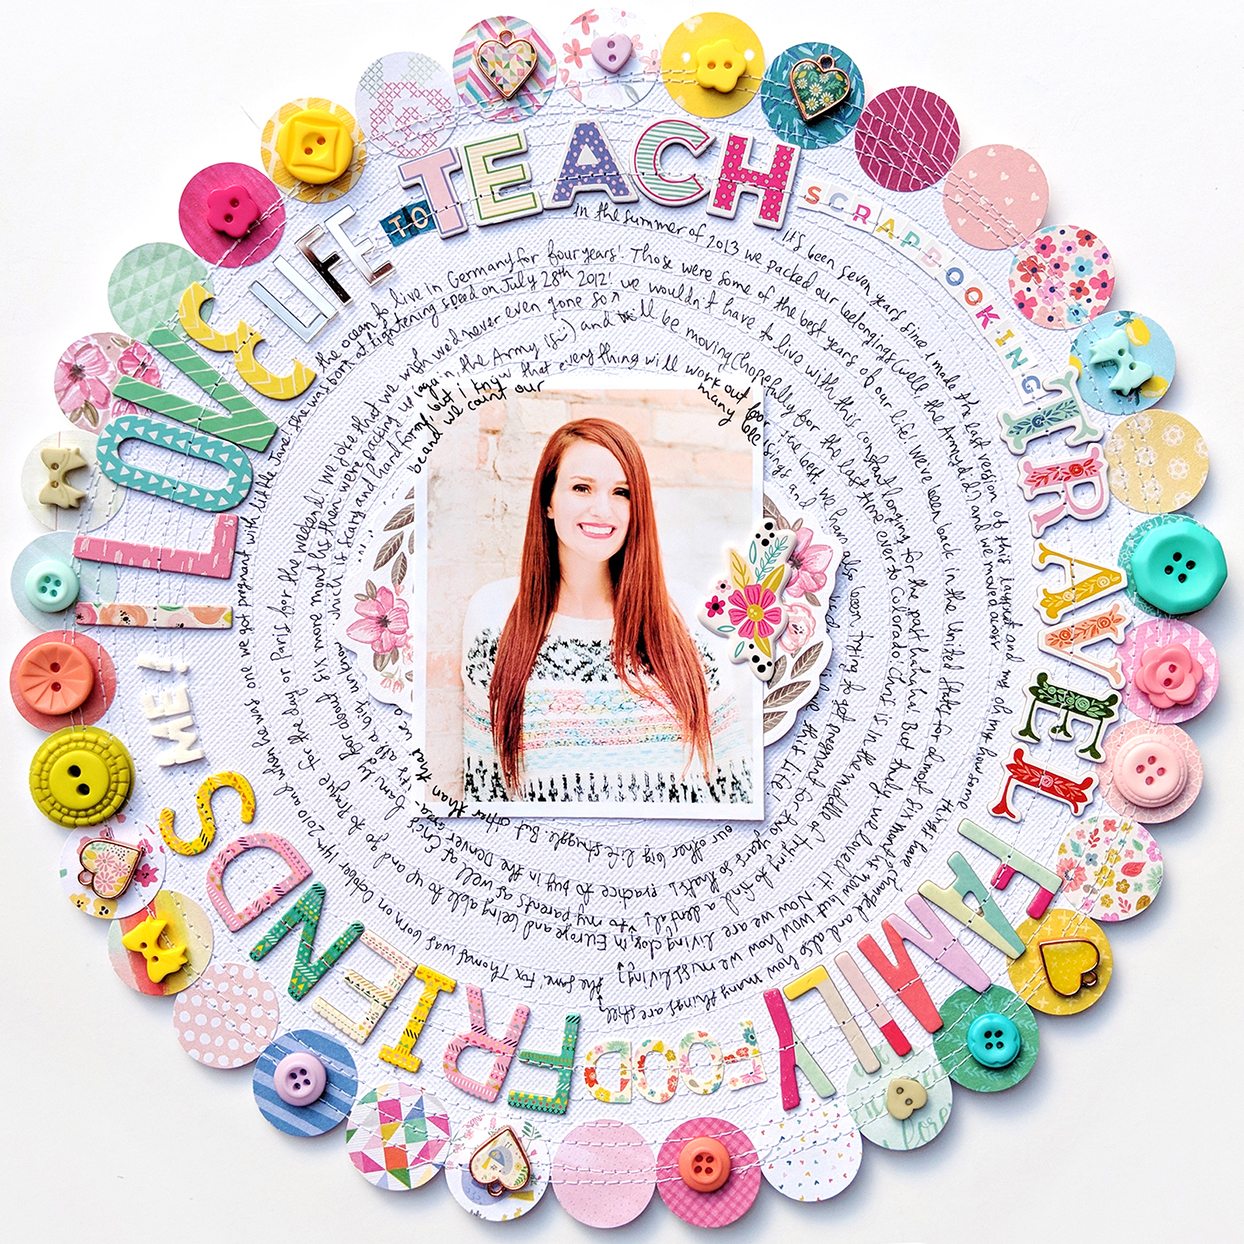
Here's a secret - as I was sitting down to work on this Pink Paislee blog assignment my mojo flew out the window! Oh no!! When this happens I do several things: browse through Pinterest, organize supplies, sift through collections and see if something jumps out at me, or, look through my old scrapbooks. A little back story: I started scrapbooking in 2001 when I was 16 years old and got my very first job at a local scrapbooking store in Redmond, Washington. It was more than a hobby from the very beginning - I was hooked from the moment I put photos, papers, and stickers together! Fast forward to 2010, I was pregnant with my son Fox and made a layout for a guest design spot with Hambly Studios (remember them?! I miss them!). So when I lost my mojo and was flipping through my old layouts, I came across this round one, and since it's a favorite of mine and I hadn't lifted it before, the idea was born to scraplift it using my Pink Paislee collections! Here is the new version:
The best part? It only took an hour from start-to-finish to make! It probably would have taken less but I was documenting it along the way to share on Instagram stories while simultaneously filming a process video, which, speaking of, you can watch right here right now:
Usually my layouts take about 2-3 hours to make (more if there is hand stitching), but since I already had the design figured out, it came together in a jiffy! Those are my favorite kinds of layouts!
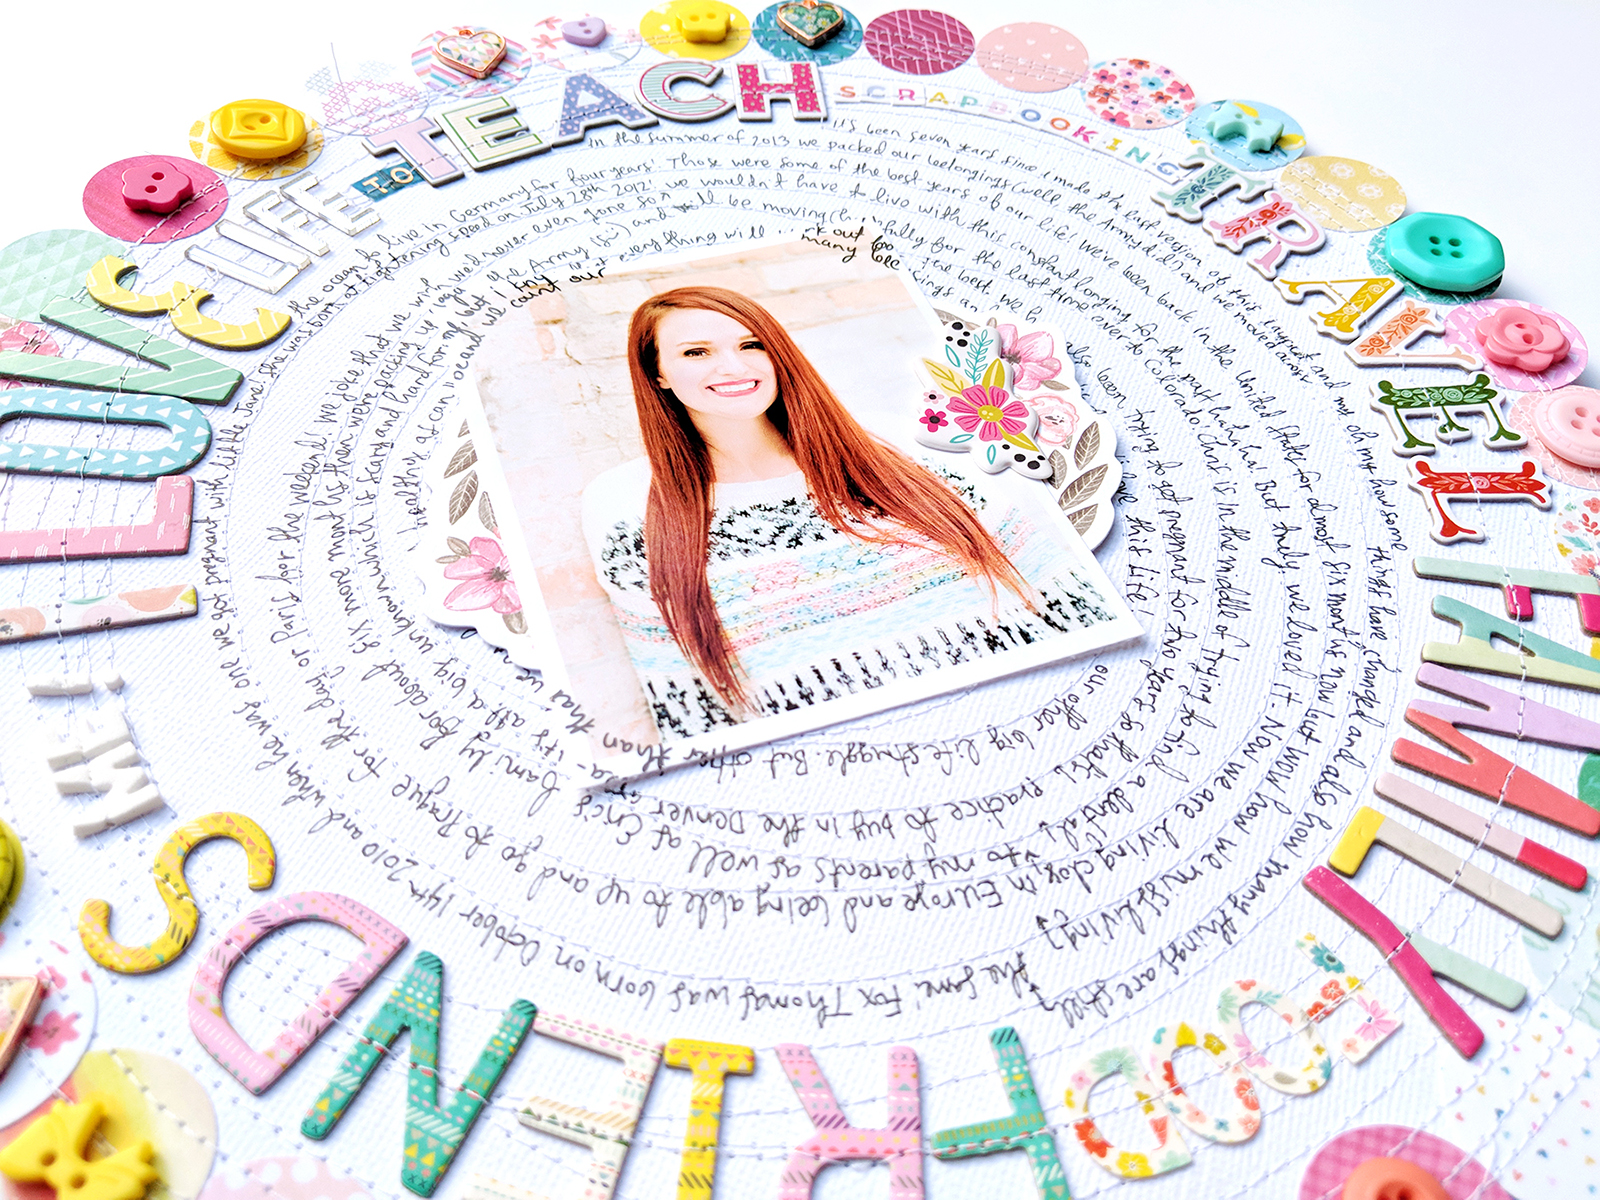
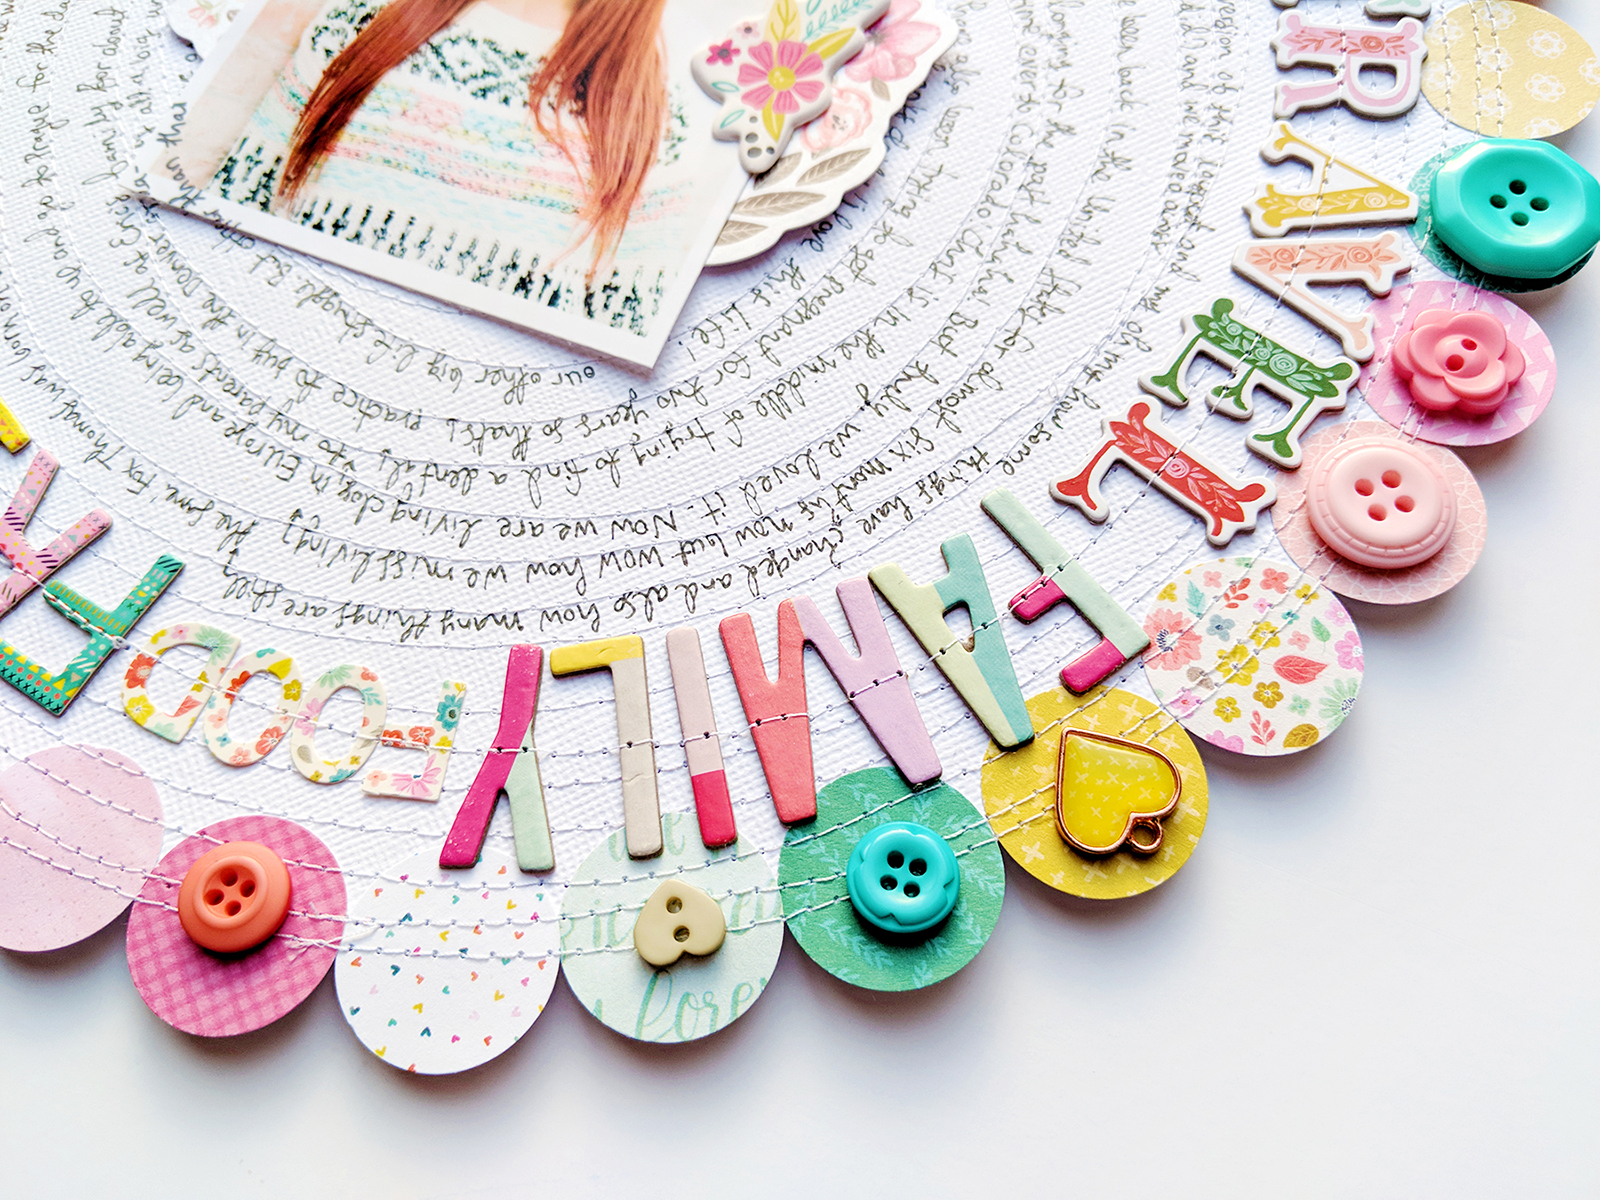
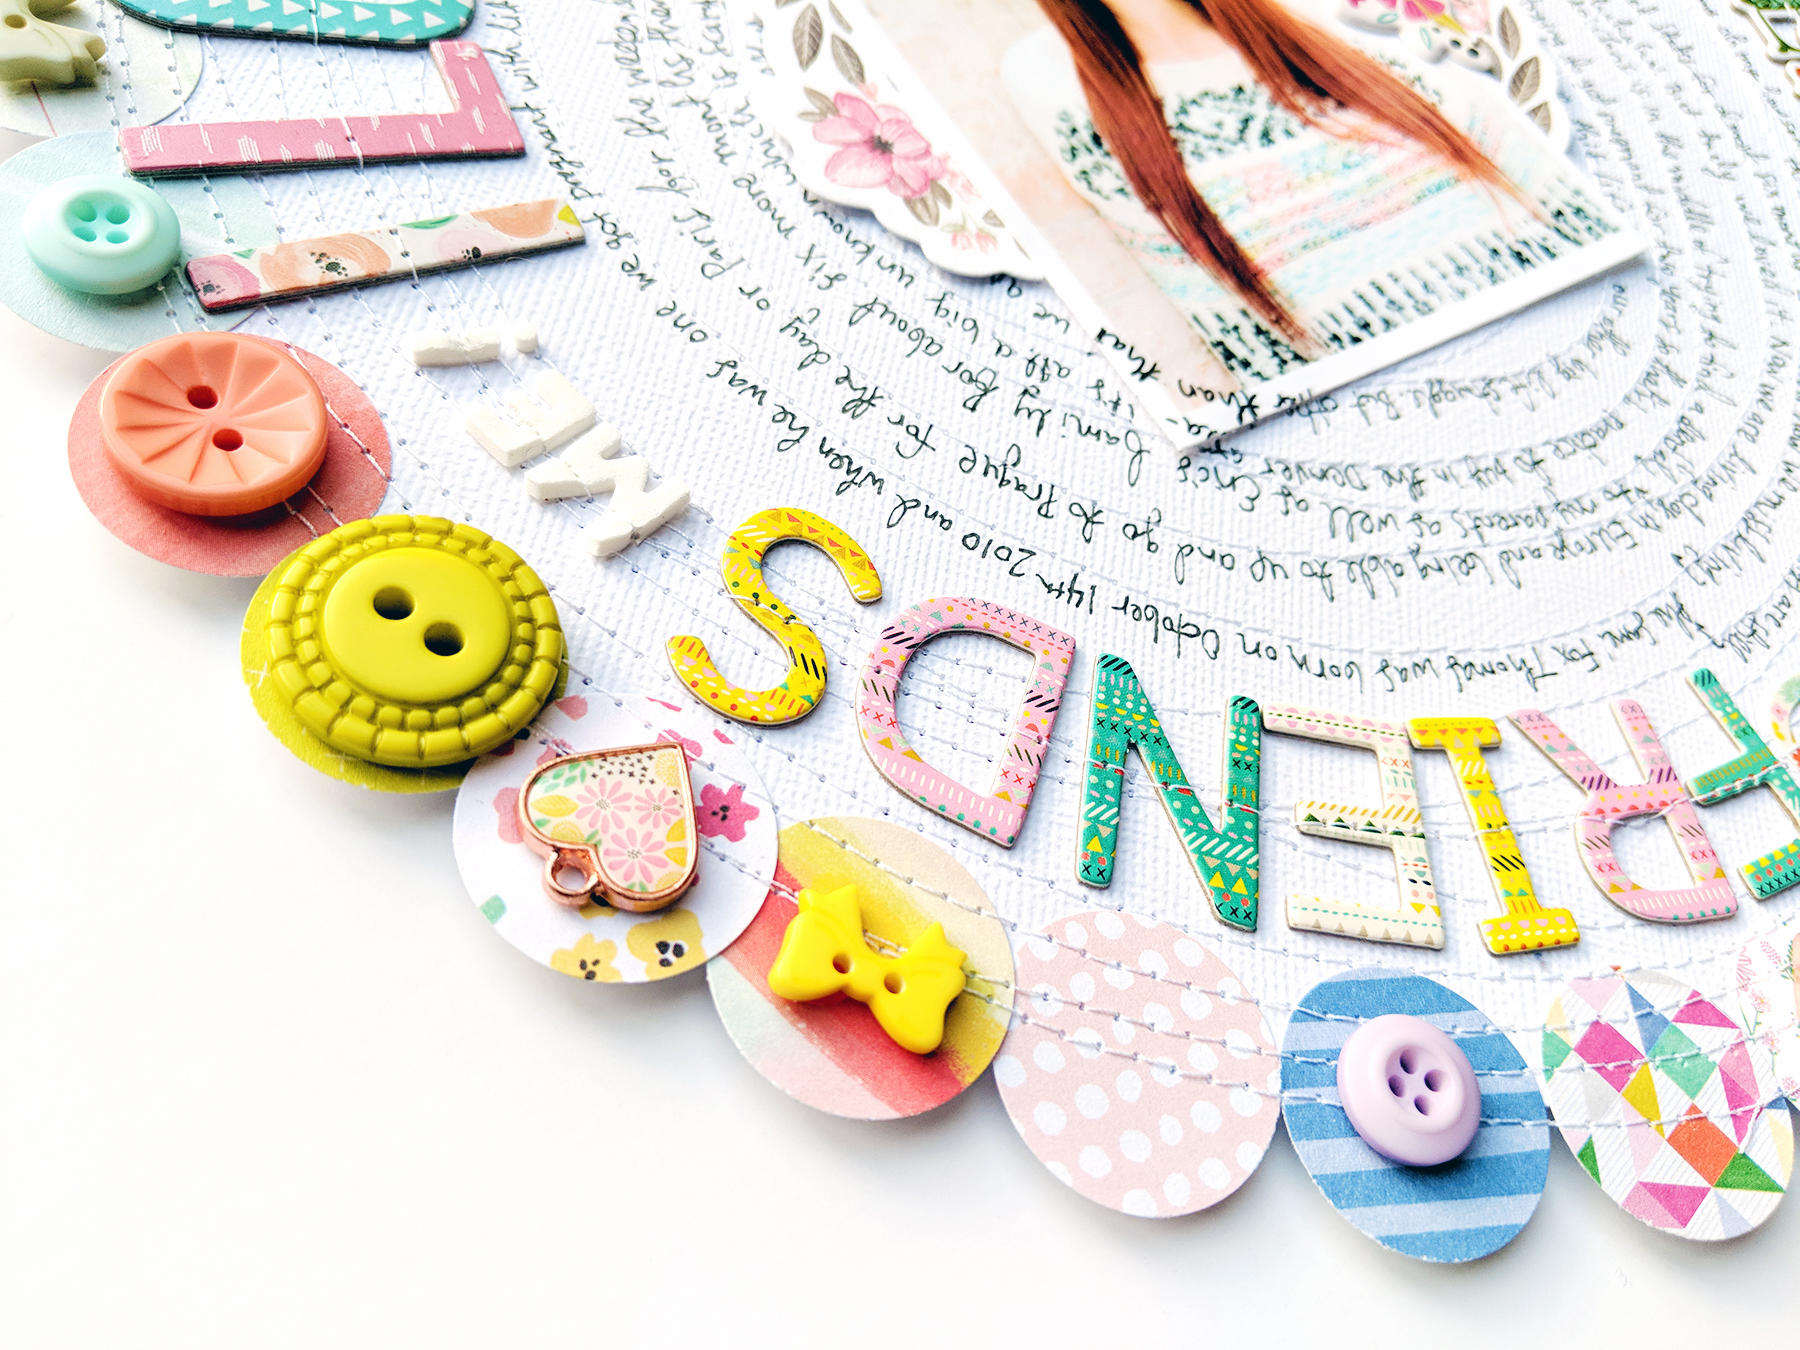
I started by cutting a 10.75" circle from textured white cardstock using a Silhouette Cameo 3 die cut machine. Next I punched 1" circles from all my Pink Paislee collection 6x6 Paper Pads: Fancy Free, Take Me Away, Oh My Heart, Turn the Page, and the paper with all the squares of patterns from my new collection called Pick-Me-Up (shipping January 16th and more images coming soon!). I glued the circles to the edge of the cardstock circle.
Next came the title! Instead of using words of things that I am (mother, wife, sister, etc.), because I still am all those things, I chose to write things that I love. I pulled any and all alphabets I could find again from all of my collections. I had just a tiny gap left at the end so I filled it in with "ME"!" :)
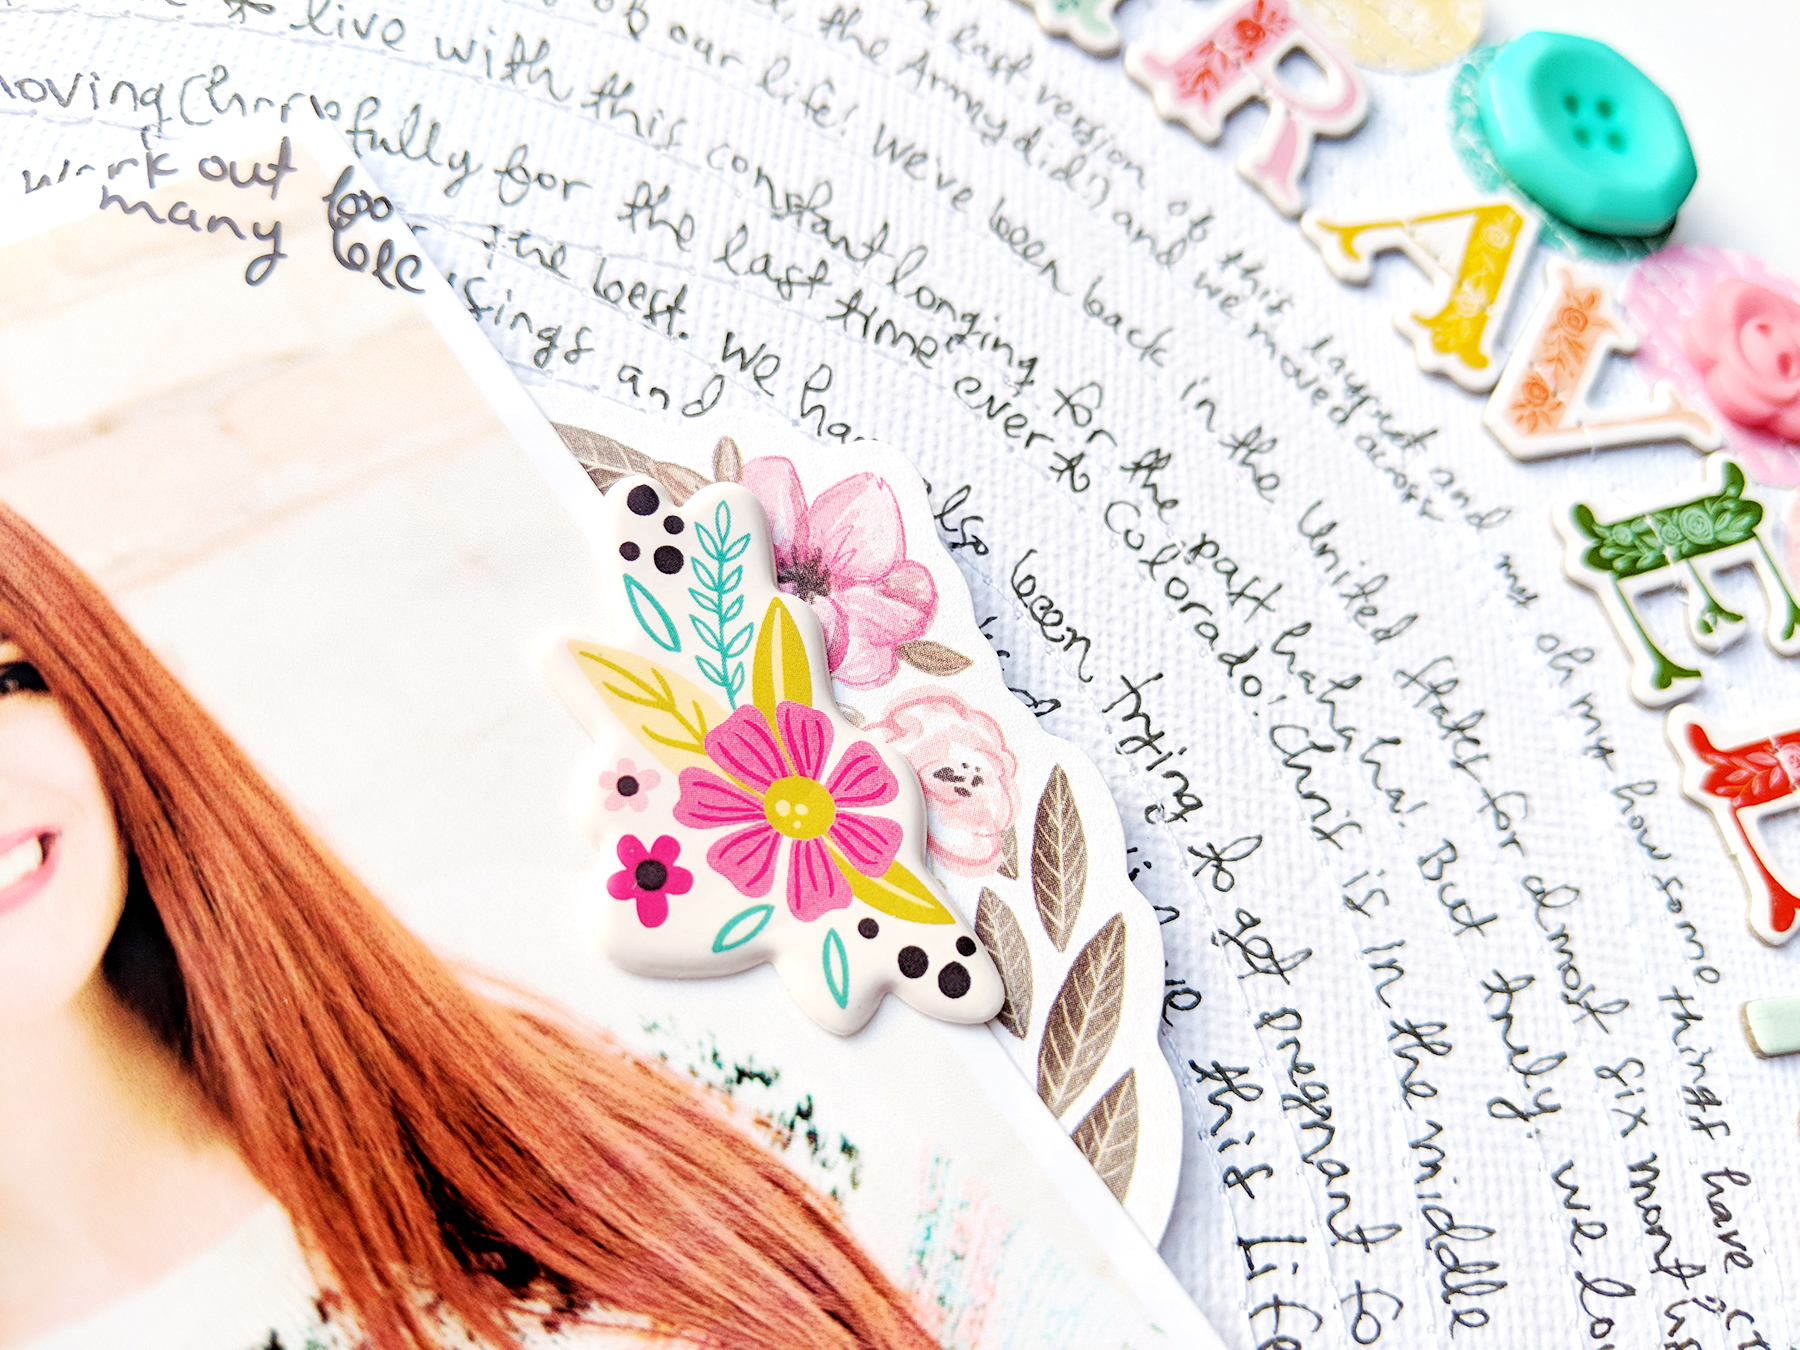
Then I machine stitched around and around and around the layout for several reasons: to attach the Thickers in place permanently, to create a nice texture in the middle, and to create journaling lines. I adhered my photo in the center (I went with color instead of black & white because the colors matched the embellishments), and then spent some time journaling with a .01 Precision Pen.
To finish I only embellished with two things: a floral wreath die cut from Take Me Away trimmed in half and tucked under the photo edges and a floral puffy sticker from Oh My Heart on the right edge of the photo.

If you are ever in a scrapbooking rut might I suggest turning to your older layouts and seeing if there is one you particularly love and scraplifting it?! Easy peasy!





I love the idea of scraplifting yourself!!! That's awesome!!! And LOVEEEEEEEEEEE the older lo and the new one too!!!! That circular motion throughout is FABULOUS!!!!! I miss Hambly too!!! :(
ReplyDeleteWow, this is AMAZING Paige! Absolutely love the lift (loved the original so that's no surprise!). I'm always lifting myself...why not I say ;) Sometimes I try to give it a new spin and sometimes I just copy. Anything to get the creative juices flowing!
ReplyDeleteWhat a fabulous layout! Very cool how you updated the look.
ReplyDelete