Hi everybody! Hope you had a wonderful weekend and are excited about everything in store for the upcoming days! This week the Pink Paislee Design Team is sharing pages using my new Pick-Me-Up scrapbooking collection and today I have a layout and process video!
First, sit back and relax and watch the process video to see how this layout was made from start-to-finish:
Now for written instructions for those who learn better that way - we all learn differently! I started by placing all of my Silhouette cut files that had potential to be used on a page featuring flowers and leaves. I used Rolled Flower 1, Rolled Flower 2, Rolled Flower 3, Rolled Flower 4, Rolled Flower 5, Flower Garden Background, Branch, a deconstructed version of the Flower Vase, and the Flower Cluster cut files.
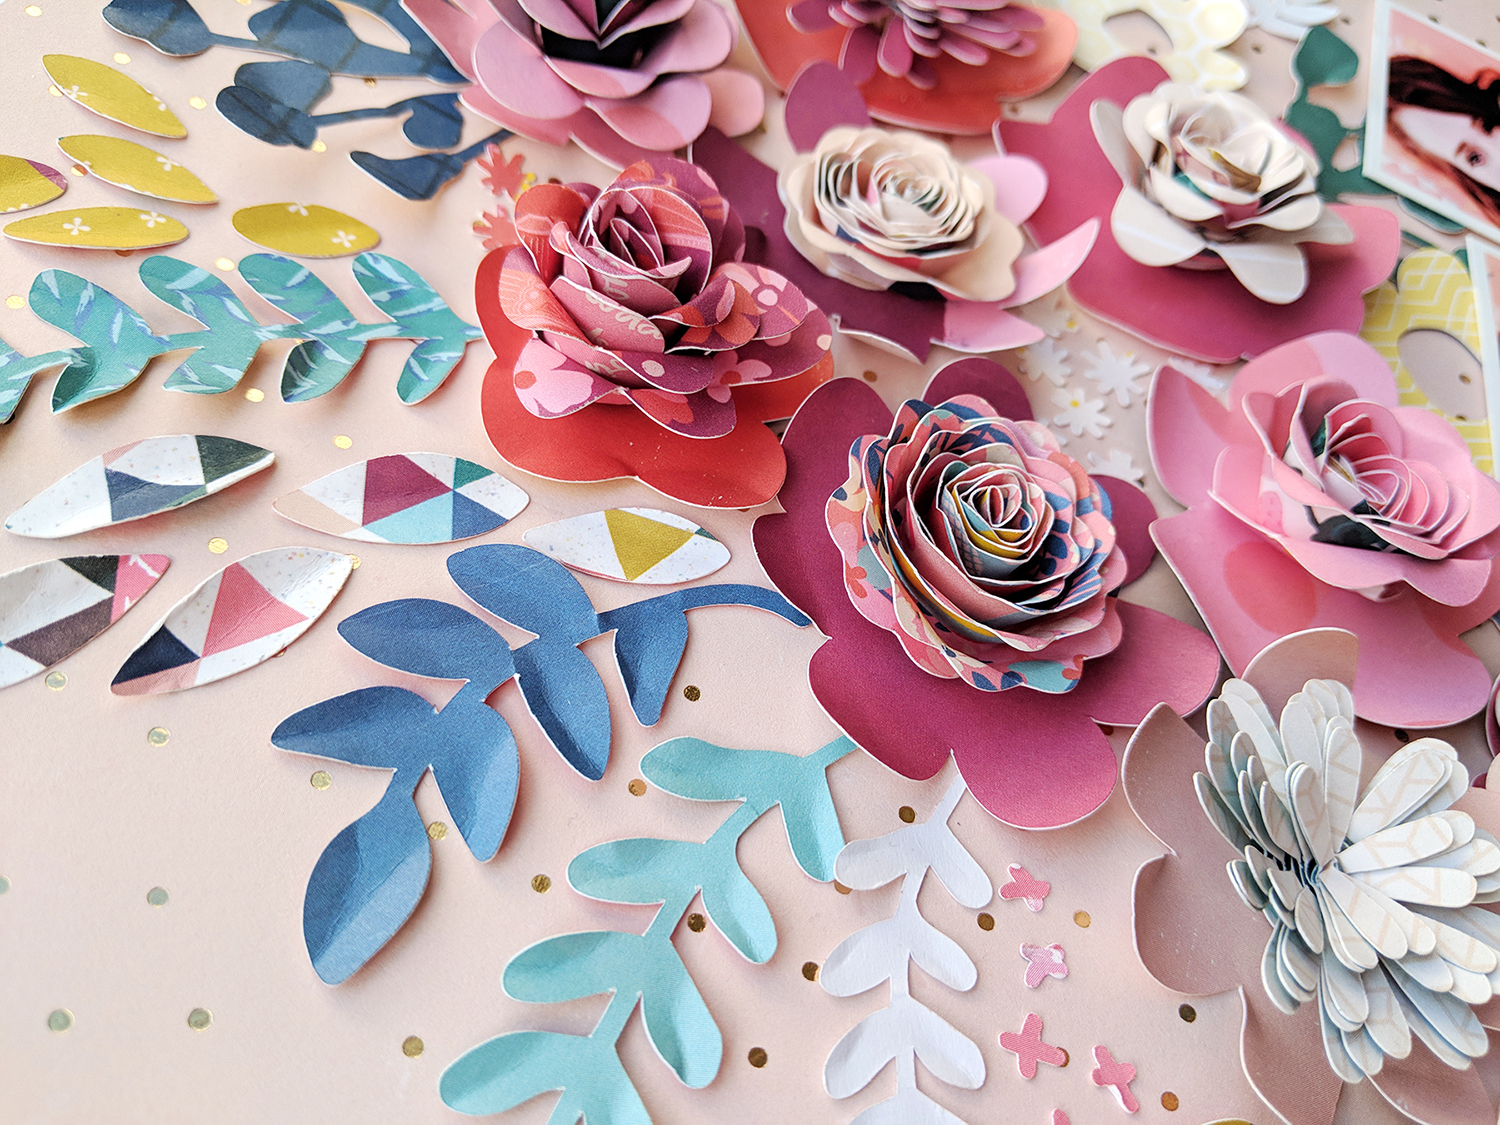

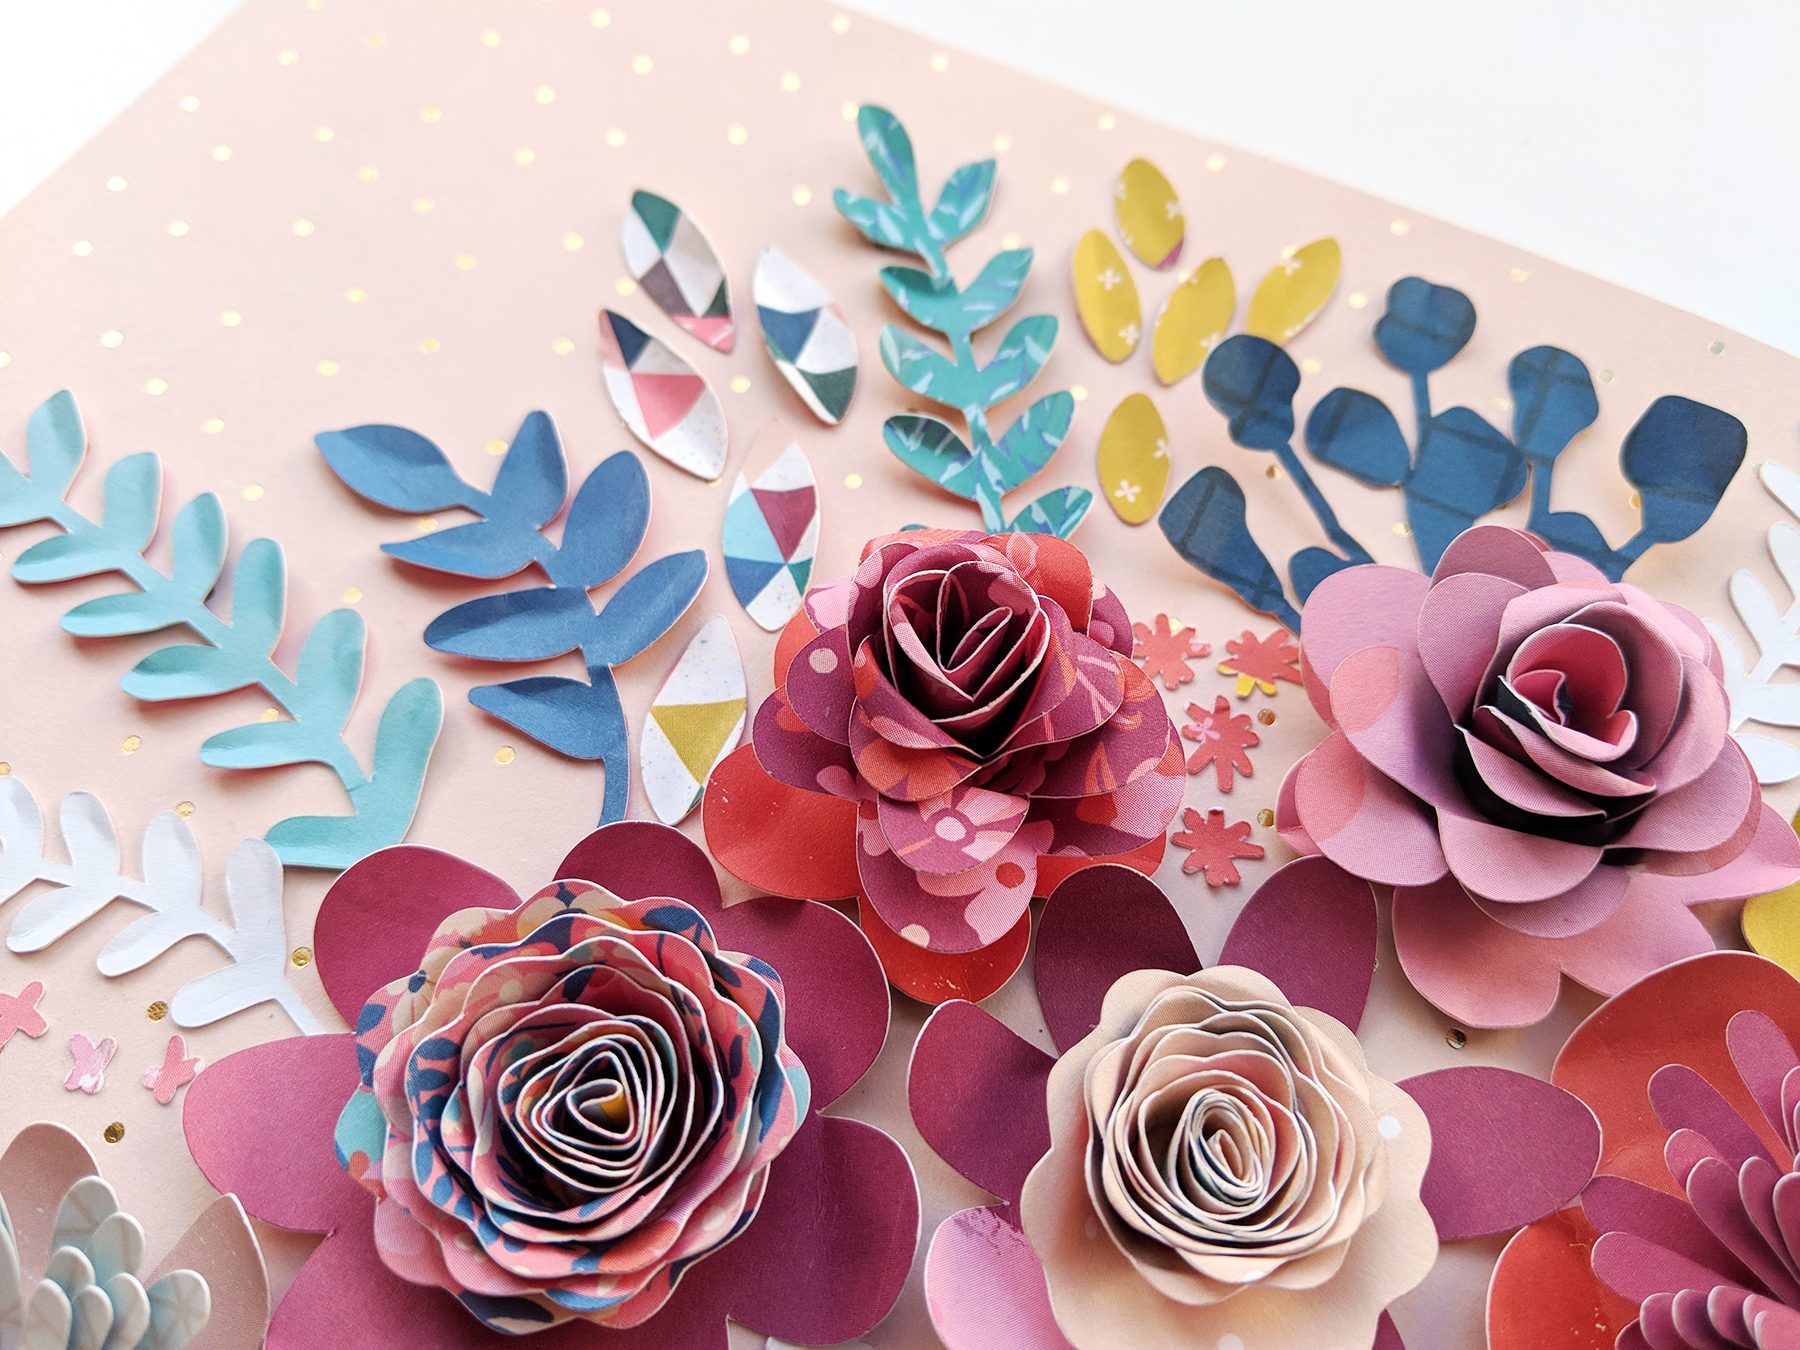
I went through all of the Pick-Me-Up patterned papers and pulled out the solid pinks, reds, purples, yellows, and blues. Then I trimmed the pink patterned papers to 4" square, die cut 10 rolled flowers from them using my Silhouette Cameo 3, and assembled them with hot glue. Next I die cut larger solid flowers for bases for the rolled flowers again from pink, red, and purple papers. I curled up the flower petal edges for added dimension. I cut a few more flowers with open centers from the yellow patterned papers. I die cut all kinds of branches and leaves from blue patterned papers as well as smaller leaves and branches from white cardstock. Lastly, I die cut the entire Flower Garden Background from Paper 10 - the one with all the squares of different patterns.
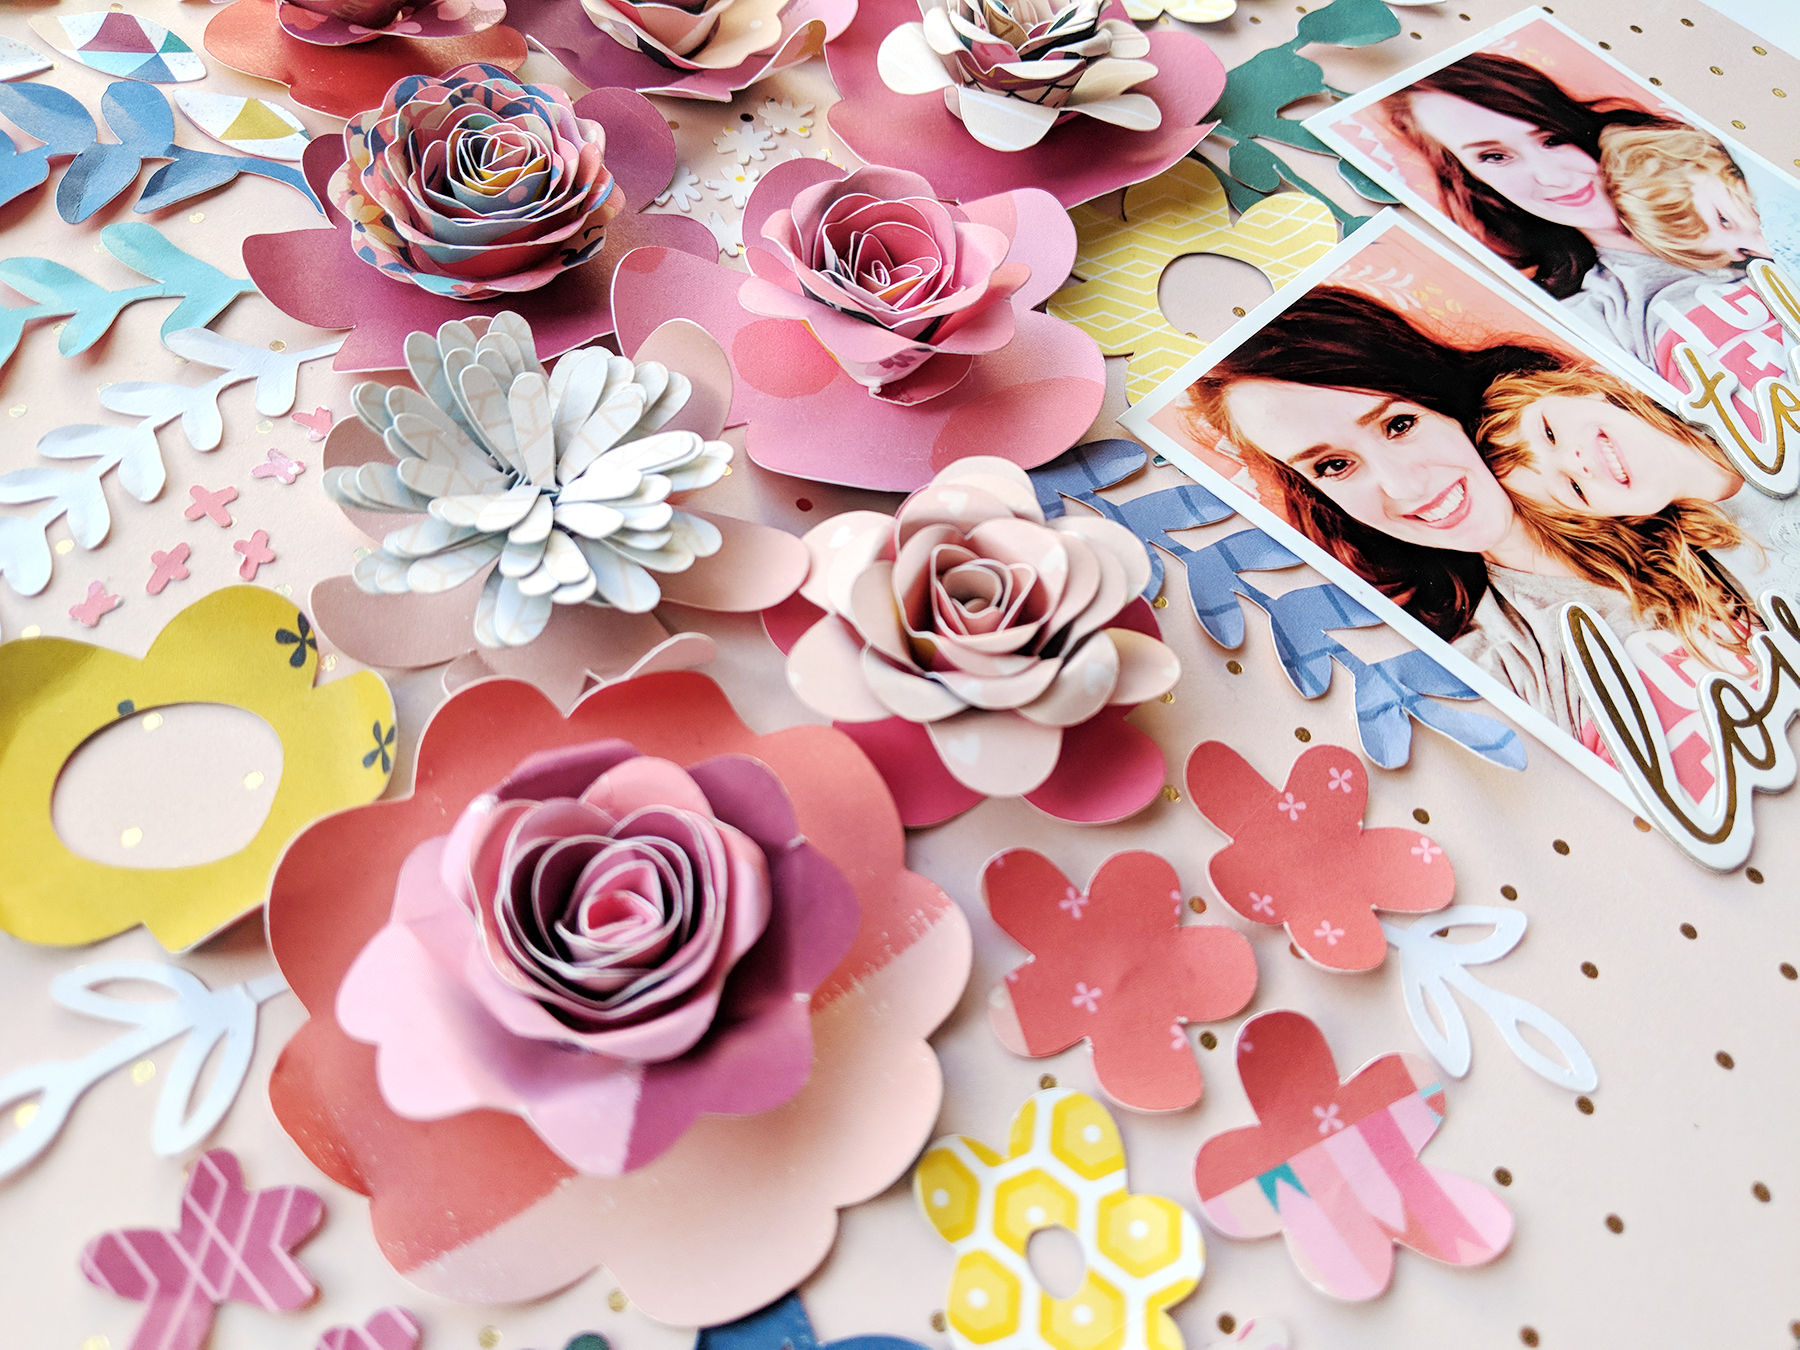

Once everything was cut and the rolled flowers were assembled it was time to pick a background paper! I chose the light pink paper with gold foil polka dots from the 12x12 Paper Pad. I had also thought about creating the layout on a royal blue paper, but I like how the flowers stood out more against the pink paper.
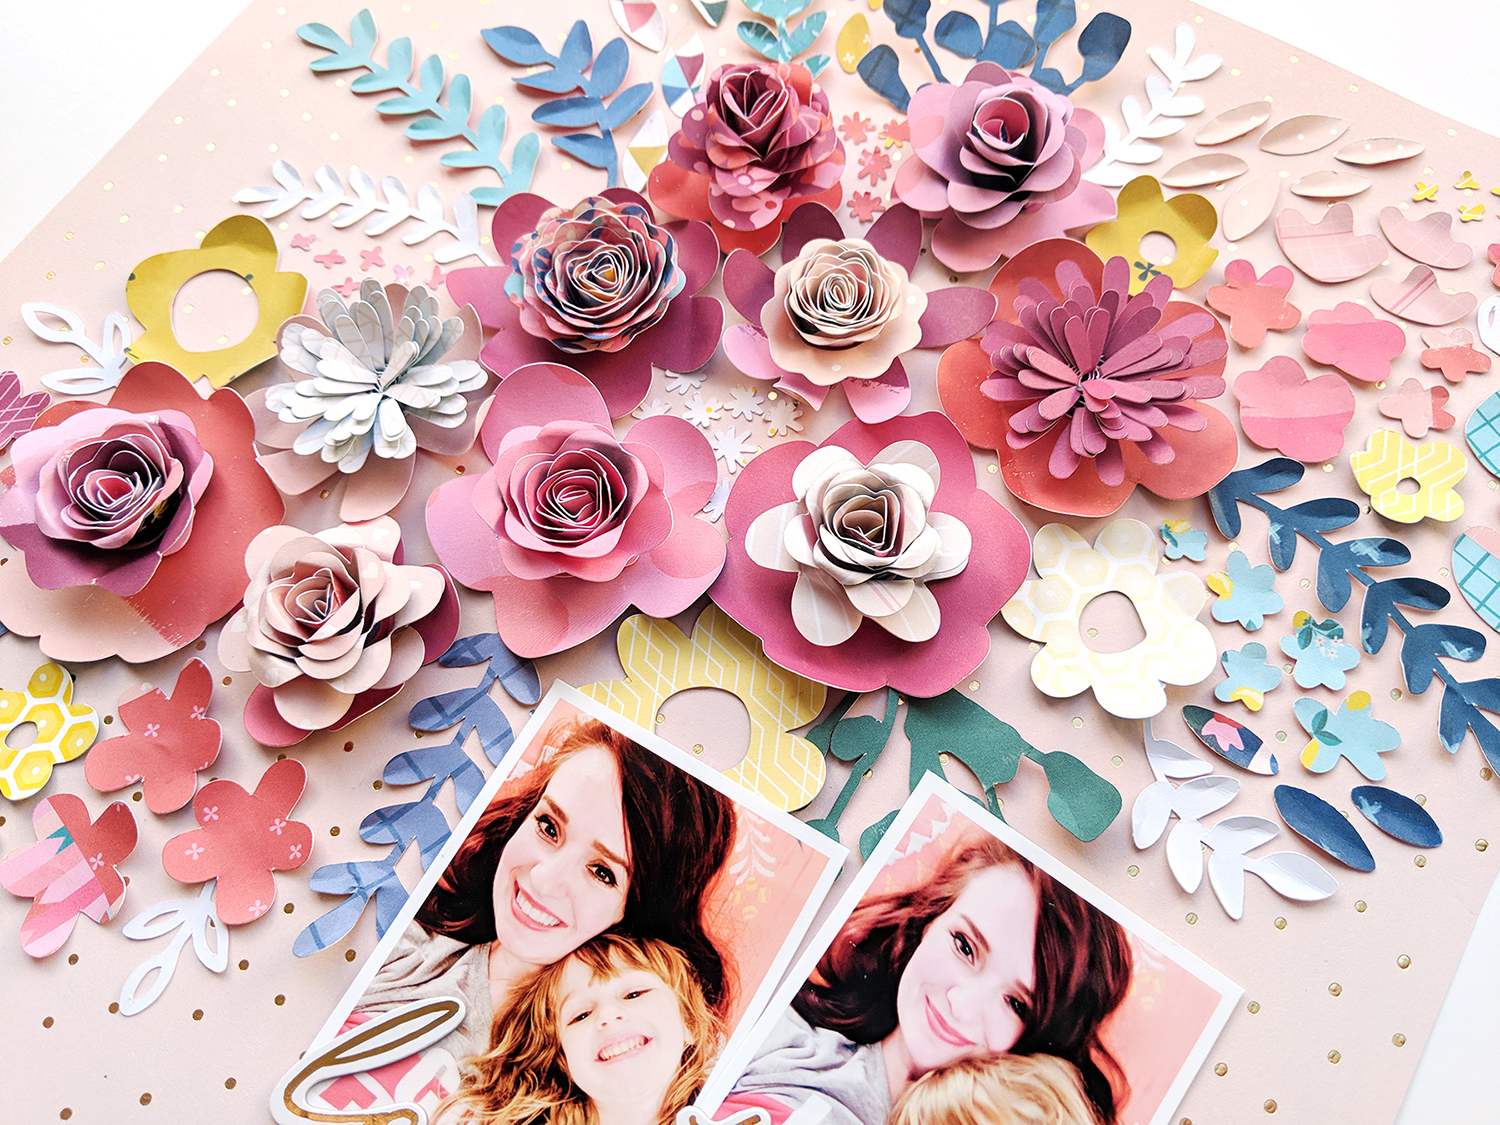

I began clustering the largest flowers in the middle and then tucked the leaves around the edges. Then came more flowers spreading out to the corners and then I picked little clusters from the Flower Garden Background to fill in all of the gaps.
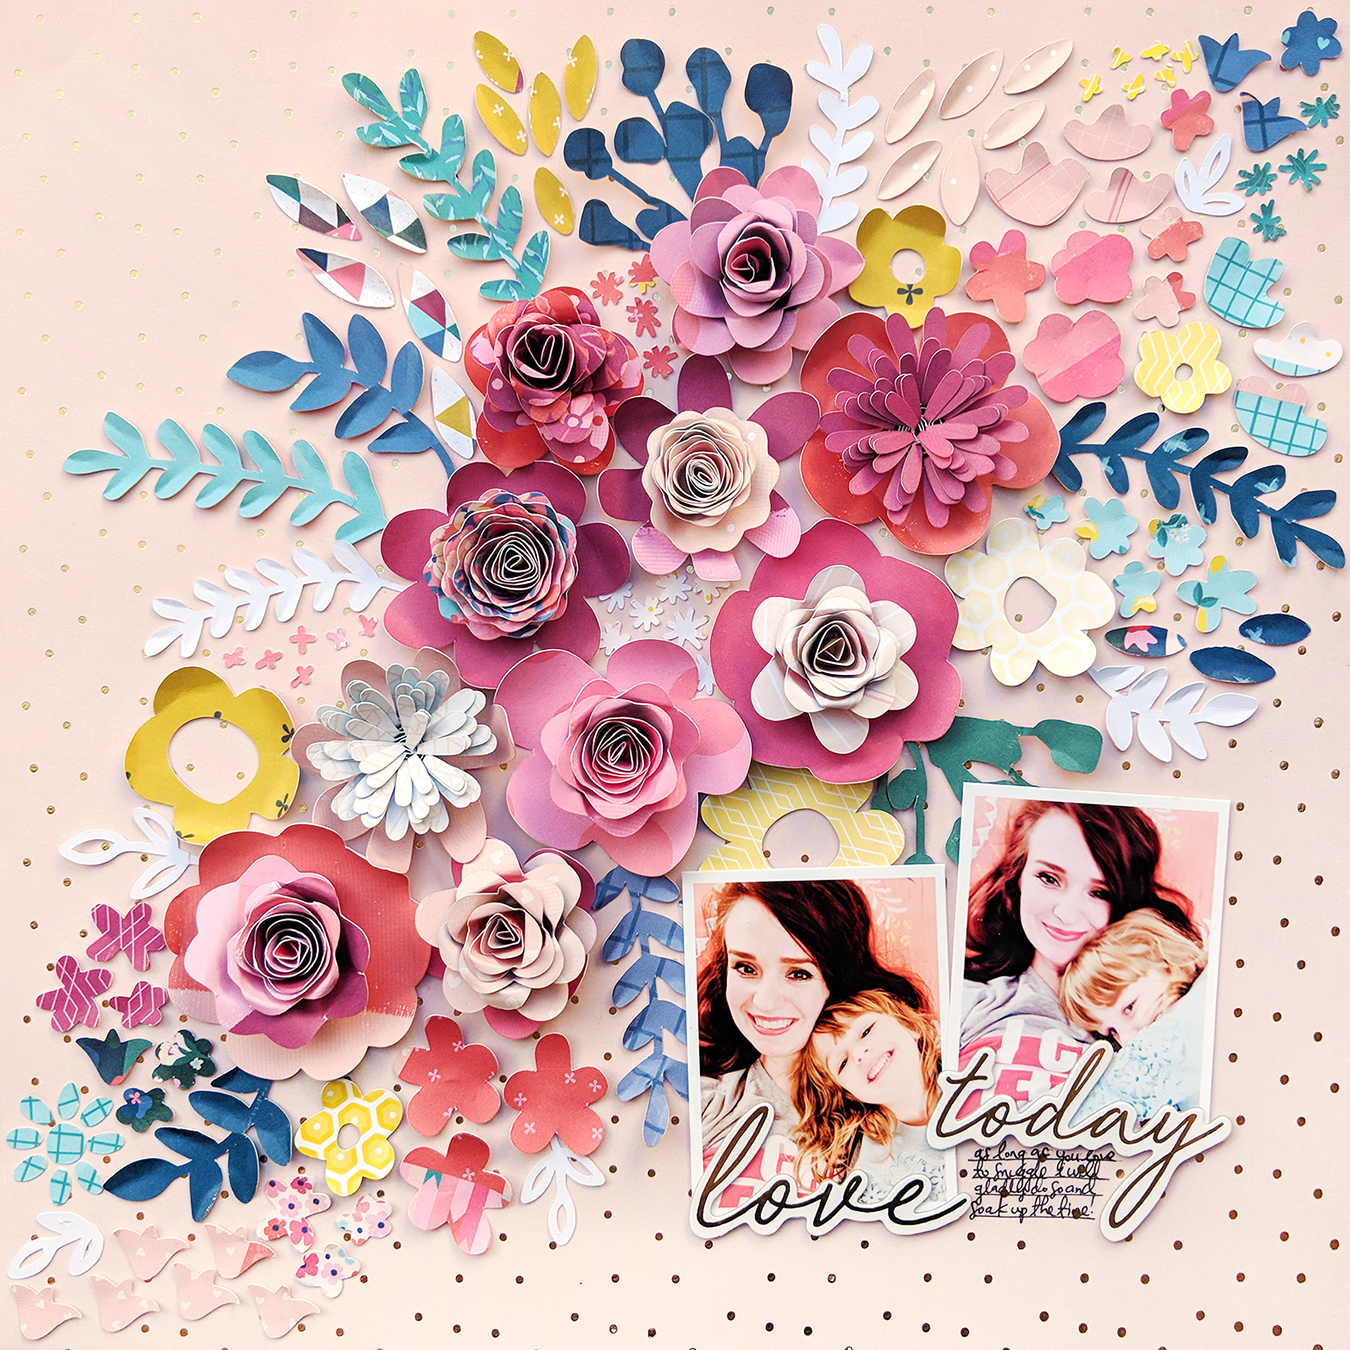
Recently my daughter and I took a bunch of snuggling selfies on the couch and I couldn't wait to document this precious moment in time. I love that Jane still loves to snuggle and I will savor these moments! I printed two photos, leaving a white edge, and added them below the flower background.
Since the background was so busy I wanted it to be the main design element and kept everything else super simple - all I did to finish was add "love" and "today" Chipboard Stickers at the bottom of the pictures and then journaled below with my favorite .03 black precision pen.
I hope you are inspired by this layout to create a pretty floral background using Pick-Me-Up!
SUPPLIES: PICK-ME-UP: Paper 01, Paper 02, Paper 03, Paper 04, Paper 06, Paper 07, Paper 08, Paper 10, Paper 13, Paper 14, Paper 15, Paper 16, Paper 17, Paper 18, Paper 20, Paper 22, Paper 23, Paper 24, 12x12 Paper Pad, Chipboard Stickers; Cut files: Rolled Flower 1, Rolled Flower 2, Rolled Flower 3, Rolled Flower 4, Rolled Flower 5, Flower Garden Background, Branch, Flower Vase, Flower Cluster; white cardstock; Silhouette Cameo 3; precision pen




This is so beautiful and such a range of colours and flowers. Really inspirational!
ReplyDeleteThis is ABSOLUTELY GORGEOUS! I am LOVING those adorable photos of you two, and love love love love love those flowers!! They are beautiful!!! You always make my heart happy with your creations!!!!!
ReplyDeleteI love the dimensional flowers of this background! Your layouts are always to beautiful!
ReplyDelete