
Audrey Yeager has a new layout to share today using a beautiful combination of collections and a cut file!
I love the colors in the original image of Paige's Wreath Garland cut file and I wanted to mimic that on my layout.
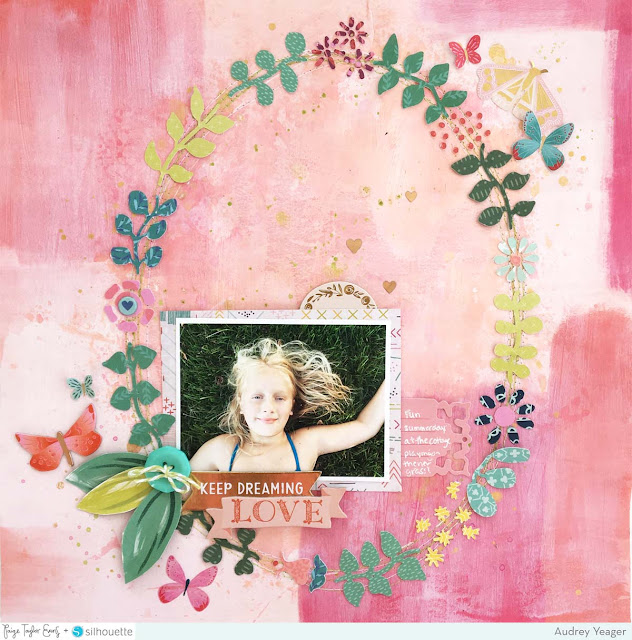 I pulled lots of scraps from several collections including Turn the Page, Fancy Free, and Pick-Me-Up. I began by separating all the bits of the cut file right in Silhouette Studio and arranged the images in a 2x2" grid, cutting papers to match.

Then I cut them with my machine and laid them out on my background paper. The background patterned paper is from the Fancy Free collection, and I added some gesso and inks to adjust the colors a bit in the oval shape to fit the design of the cut file.


Once dry, I stitched with some green and white thread and glued down the leaves and flowers. I love the design so much, I wanted to just keep it simple, so I added a few chipboard phrases and a few more leaves. The butterflies came from chipboard, rub-ons, and ephemera packs.

SUPPLIES: PICK-ME-UP: Rub-Ons, Chipboard Stickers; FANCY FREE: Background paper, 6x6 Paper Pad; TURN THE PAGE: 6x6 Paper Pad, Chipboard Stickers, Ephemera Die Cuts, Journaling Spots; Cut file: Wreath Garland by Paige Evans; Silhouette Cameo

Blog: audreysreflection.blogspot.com / Instagram: @audreykit1 / Pinterest: @audreykit /
Facebook: Audrey L. Yeager / YouTube: Audrey Yeager
Facebook: Audrey L. Yeager / YouTube: Audrey Yeager
Sometimes all you need is a pretty wreath to create a beautiful and stunning page!


This is gorgeous! LOVING those leaves!!!!!!
ReplyDelete