
Hey, friends! Missy Whidden here with a fun vacation layout featuring Paige’s Signage Post cut file. We recently took a trip to the Bahamas and while on a day trip we found this cool sign. This cut file is perfect for this, I couldn’t wait to scrap it! I began by cutting the design on white cardstock. I wanted it to mimic the wooden one in the photo, so I used a few brown gelatos to add color. I sorted through the Horizon 6x8 Paper Pad and a few larger papers and backed the sign. I created my own background using white cardstock, clear gesso, and a lot of spray Horizon.
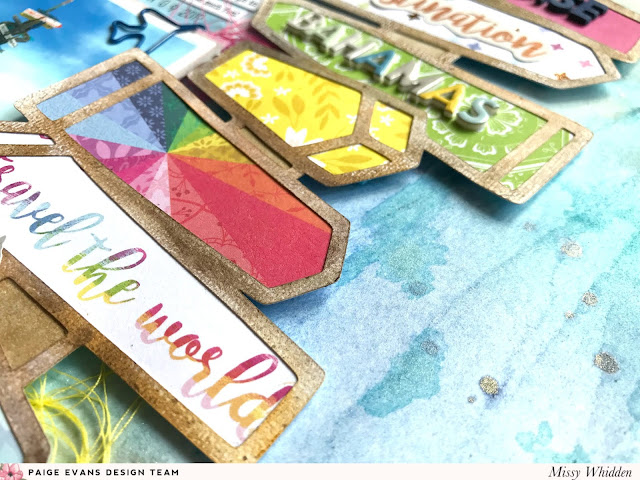
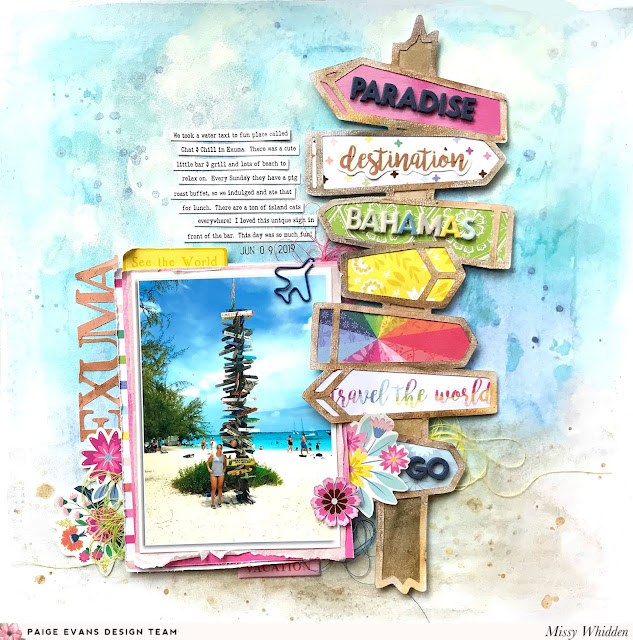 To color the cut file, I smudged a bit of gelato onto the paper and then dipped my finger into some water to help blend it. I couldn’t resist doing somewhat of a rainbow color scheme with the papers. Once the cut file was backed, I popped it off the page with some adhesive foam. I wanted to create a sky and a soft beach on the background, so I used two different blue ink sprays on the background. I added lots of water and just tilted the page so the colors would run and blend together. I added a few drops of white acrylic paint to add some lighter areas, and then smudged more white paint after it dried to give the effect of clouds. I added some sandy colored paint down at the bottom for the beach. I used some of the Pick-Me-Up Mini Thickers and Whimsical Foam Mini Thickers to add text to a few of the signs.
I used several floral stickers from the Horizon Project Pad on both sides of the photo. This small pink flower was cut from the Horizon 6x8 Paper Pad, and I tucked an Epoxy Sticker underneath the photo. I tangled up coordinating colors of thread in a few places as well. I love the color and texture that adds.
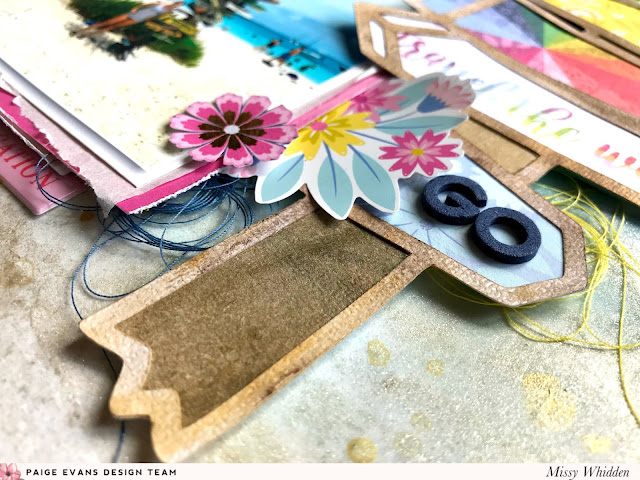
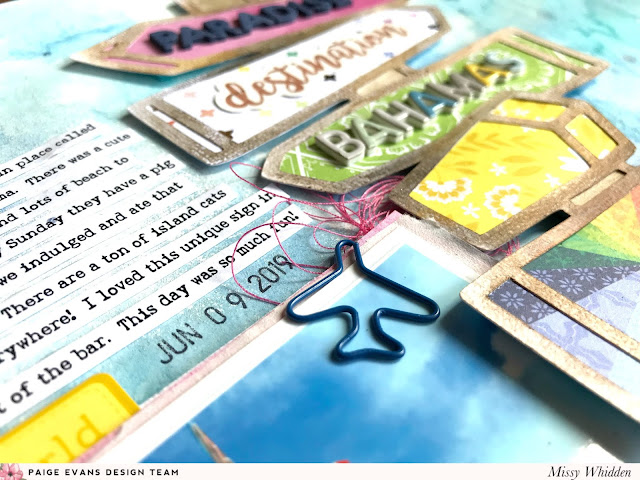
I love the Shaped Paper Clips! This cute airplane was perfect for this layout. I had some open space above the photo for journaling, so I printed out sentence strips and adhered them. I used a few of the gold foiled stickers from the Project Pad. To tone down the shiny gold, I smudged a bit of white gesso over the letters. I used some of the larger gold alphas for my title on the left side of the photo and used the “destination” sticker on the signage post.
This layout was so much fun to make! Have you ever had the perfect cut file for one of your photos? This one was meant to be! I hope this inspires you in some way. Be sure to check out my process video here for all the details.
Have a wonderful day!


I used several floral stickers from the Horizon Project Pad on both sides of the photo. This small pink flower was cut from the Horizon 6x8 Paper Pad, and I tucked an Epoxy Sticker underneath the photo. I tangled up coordinating colors of thread in a few places as well. I love the color and texture that adds.

I love the Shaped Paper Clips! This cute airplane was perfect for this layout. I had some open space above the photo for journaling, so I printed out sentence strips and adhered them. I used a few of the gold foiled stickers from the Project Pad. To tone down the shiny gold, I smudged a bit of white gesso over the letters. I used some of the larger gold alphas for my title on the left side of the photo and used the “destination” sticker on the signage post.

This layout was so much fun to make! Have you ever had the perfect cut file for one of your photos? This one was meant to be! I hope this inspires you in some way. Be sure to check out my process video here for all the details.
Have a wonderful day!
SUPPLIES: HORIZON: Paper 01, Paper 03, Paper 09, 6x8 Paper Pad, Shaped Paper Clips, Stickers, Epoxy Stickers, Project Pad; WHIMSICAL: Foam Mini Thickers; PICK-ME-UP: Mini Thickers; white cardstock; gesso; inks; Die cut machine: Silhouette Cameo 3; Cut file: Signage Post by Paige Evans

Facebook: missy.whidden YouTube: Missy Whidden


This is PERFECTION!!!! So perfect that the photo goes with the signage cut file!! I love love love love this!! GORGEOUS!!!
ReplyDeleteLooks like a beautiful vacation Missy. This cut file couldn't have been more perfect. I love how your mixed media looks like sky and beach in your photo too ! <3
ReplyDelete