
Hello everyone! Stefanie Ried here with a new Bloom Street project! Awhile ago I had put aside some papers that I wanted to use for small notebooks. Since you can't see so many friends at the moment, I thought I'd like to give them a little present. And I like to make notebooks better than cards. So I bought little empty notepads and made a cover with cardboard and paper. I also have a little picture tutorial for you so you can make some too!
 My notepads are 3x4". But you can do it with any size of notepads that you find. Then I cut the cardboard into three pieces: the same size for the front and back of the notepad and then the same size for the narrow back of the notepad. The size of the cover is a little bit bigger all around so I have a nice edge and the paper block is not visible. The cardboard is covered with Bloom Street patterned papers.

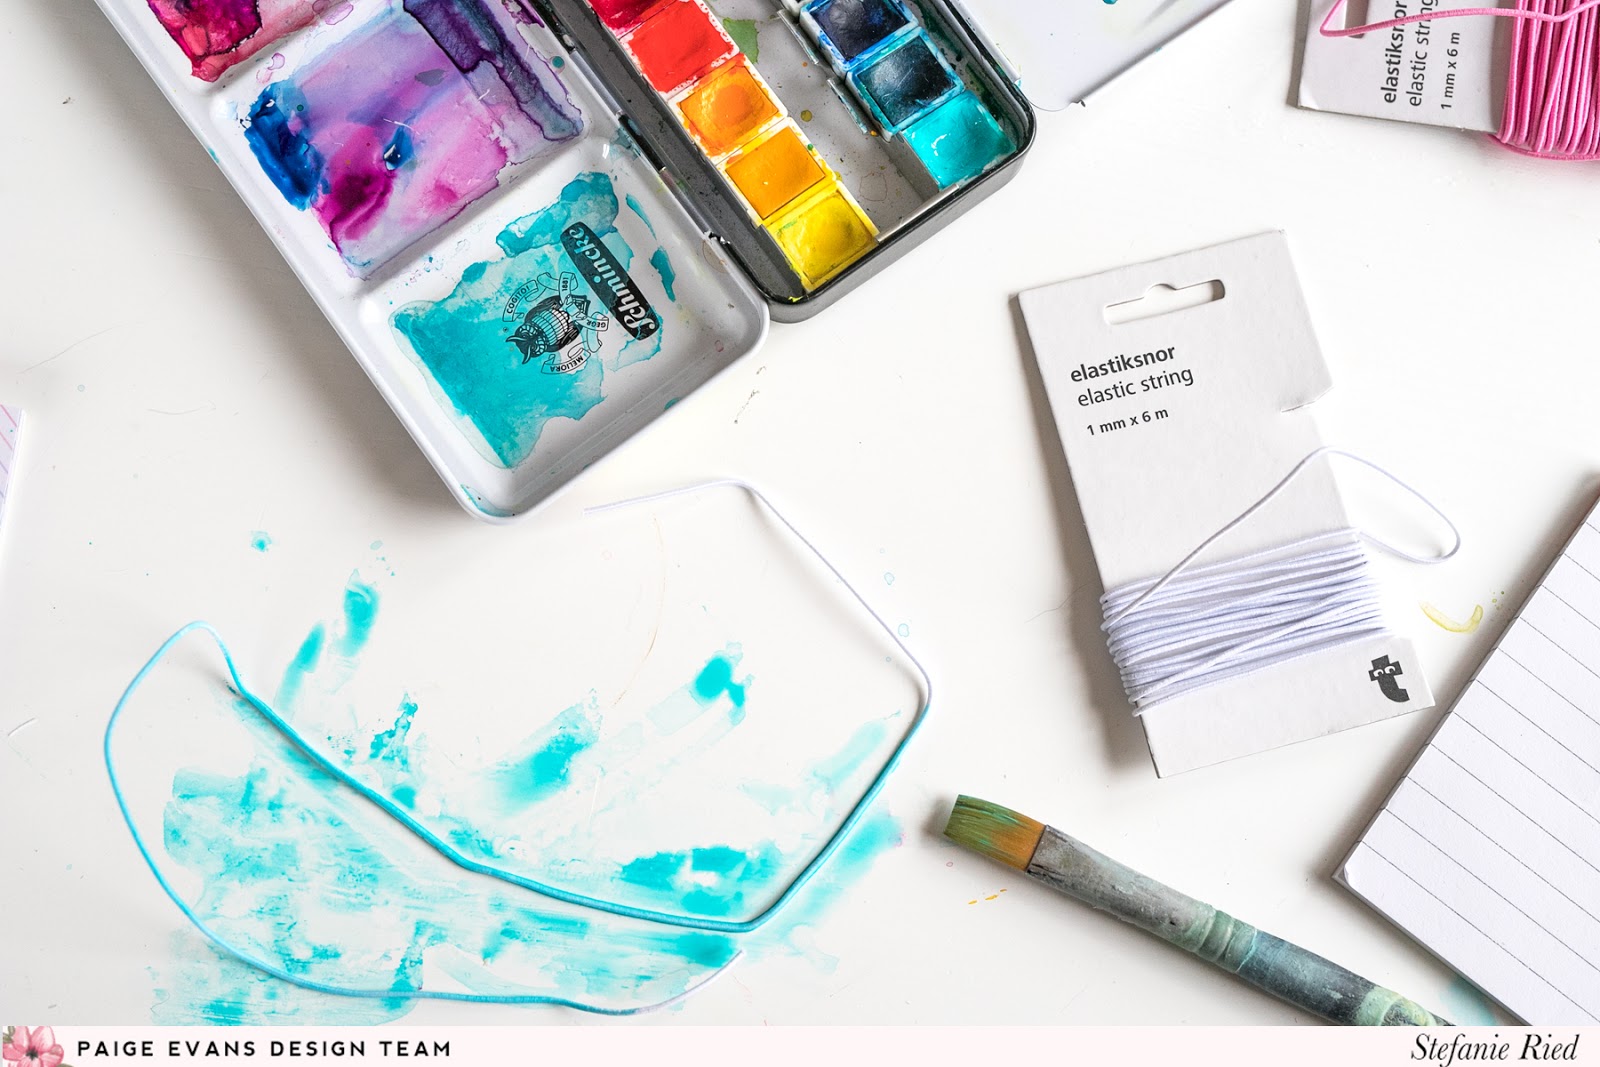
To close the notepad I used a thin elastic ribbon (1mm thick). Since I wanted to have colorful closures, I painted them with watercolors and let them dry. This is so easy and you have a new color! Try it :)

On the elastic I threaded various charms and beads. The Flower Charms and Tassels from the Bloom Street collection go great with these notebooks.

To attach the elastic to the lid, I punched a small hole in the middle of the back with a Crop-A-Dile and pulled the elastic through from the outside. To avoid a big bump on the inside, I didn't make a knot in the elastic, but taped it on the inside of the cover which will be hidden with the notepad later.

Cover the inside with patterned paper trimmed slightly smaller than the edge. Finally, glue the paper block on the bottom and the notepad is ready!

Now it's time to decorate the inside and outside as you like!

I hope you enjoyed my Bloom Street notebooks project!

Thanks for stopping by!


To close the notepad I used a thin elastic ribbon (1mm thick). Since I wanted to have colorful closures, I painted them with watercolors and let them dry. This is so easy and you have a new color! Try it :)
On the elastic I threaded various charms and beads. The Flower Charms and Tassels from the Bloom Street collection go great with these notebooks.

To attach the elastic to the lid, I punched a small hole in the middle of the back with a Crop-A-Dile and pulled the elastic through from the outside. To avoid a big bump on the inside, I didn't make a knot in the elastic, but taped it on the inside of the cover which will be hidden with the notepad later.

Cover the inside with patterned paper trimmed slightly smaller than the edge. Finally, glue the paper block on the bottom and the notepad is ready!

Now it's time to decorate the inside and outside as you like!

I hope you enjoyed my Bloom Street notebooks project!

Thanks for stopping by!
SUPPLIES: Patterned papers, stickers, embellishments, charms, die cuts, tassel, enamel dots: BLOOM STREET

Blog: steffiried.blogspot.com / Instagram: @steffiried / Pinterest: @steffiried / Facebook: stefanie.ried.96 YouTube: Steffi Ried


Wow wow wow!!!!! These are fabulous! I love this idea!
ReplyDeleteYou're so clever and always designing pretty projects I've never seen before. I love gorgeous little things that are practical too! Bravo Stefanie ! 💕
ReplyDelete