Hello creative friends! My name is Jennifer Rambert and I'm so excited to be Paige's cut file guest designer for October! You can find me on instagram, my blog, Facebook, and Pinterest. I present to you three layouts!
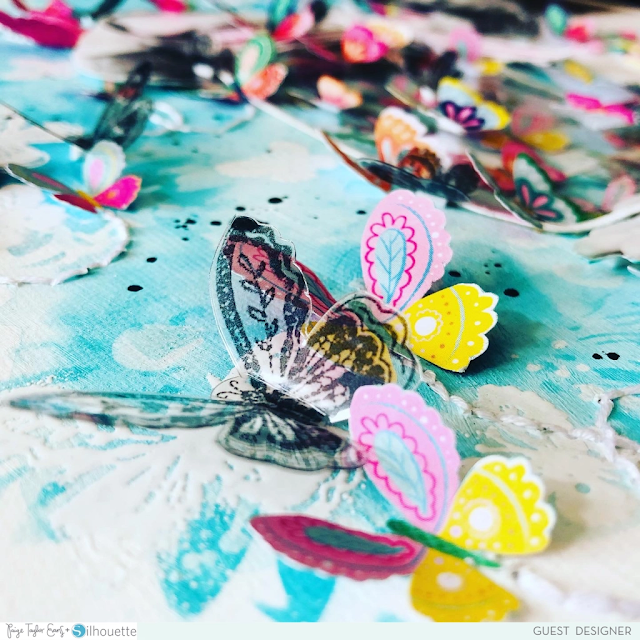
For this first page, I used Paige's Go the Scenic Route collection and her Mason Jar cut file. As soon as I saw this file, I knew what I wanted to do with it! My daughter had to strike the perfect pose and she's always up for it! Once the photo was printed in large format, I cut out the silhouette of my daughter and then I cut the file from white cardstock using a Silhouette Cameo. I worked the background of my page with Distress Oxides to make a beautiful blue then with a flower stencil and the same ink I created darker effects here and there. Finally, I used the butterflies from the Acrylic Stamps that I embossed with white powder for more texture and light.
I then glued my photo with 3D foam. I embellished the cut file with a transparency to make it look more real. I glued butterflies under the jar and before integrating it by making a dome before gluing it for more reality. And I ended up sticking more cut out and stamped butterflies on acetate here and there and a quote that I found great for the theme, a little bit of sewing, a few splashes of black paint!
For my second layout, I used Paige's Bloom Street collection and her Love Love Love cut file. I started by creating a background with Paige's Flowers Stencil and modeling paste tinted with purple ink with more or less dark shades. I added some point of light with silver ink here and there for shine.
I cut the Love Love Love cut file twice, once from white cardstock for the outline and another time from Paper 08 for the inside. I glued the outline in the center and inside on 3D foam for more texture. I integrated my two photos in the hearts of the file and in the one that remained I added a title with the Puffy Word Stickers and letters from the 4-Page Sticker Book. I decorated the whole thing with fussy cut flowers and leaves as well as butterflies cut from the same Paper 08 and glued in the same place. To finish, I splashed watered down white acrylic paint on top.
The last layout uses Paige's Awesome cut file and Go the Scenic Route collection. It is harder for me to make layouts for boys but with this collection there are beautiful colors and adequate embellishments! I printed a large photo of my guys which I pasted on the top of my page then I used a stencil and modeling paste to add texture. I went directly over the photo to incorporate it into the overall design. Then I tinted everything with shades of blue.
I then glued the cut out with 3D foam for more volume and I decorated the page with different Cardstock Stickers, Chipboard Stickers, Puffy Phrase Thickers, and fussy cut tickets from Paper 17 that I love! And finally, black and white paint splashes.
Thank you very much for taking the time to discover my creations specially made for you! I hope to inspire you and that you will enjoy them! Have a good day full of creativity!


Wow wow wowwwwwwwwwww! These are all AMAZING!!! I am LOVING that jar on the first one!!!!! GORGEOUS!
ReplyDeleteThank you very much Julie! Glad you like it and I loved working on this file.
DeleteCongratulations for Guest Designing this month Jennifer. When I saw you on the schedule, I was so happy because I'm a big fan. You're so brave with mixed media and I find your work so original. Wonderful layouts my dear 😍
ReplyDeleteOh! Thank you very much Kelly that touches me enormously! I love cut files and Mixed Media so I try to combine them as best I can and Paige's collections are so easy to work with both!
Delete