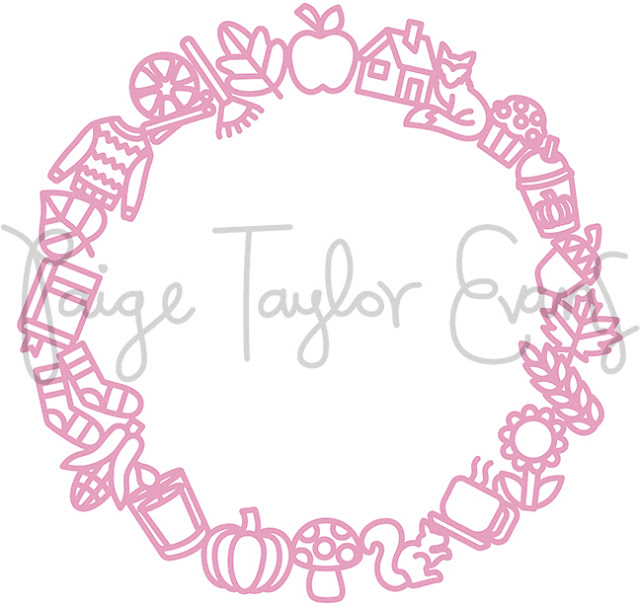
The 1st of the 20 Days of Autumn Cut Files is a Fall Wreath Cut File and was just emailed out and the file uploaded to the secret folder!
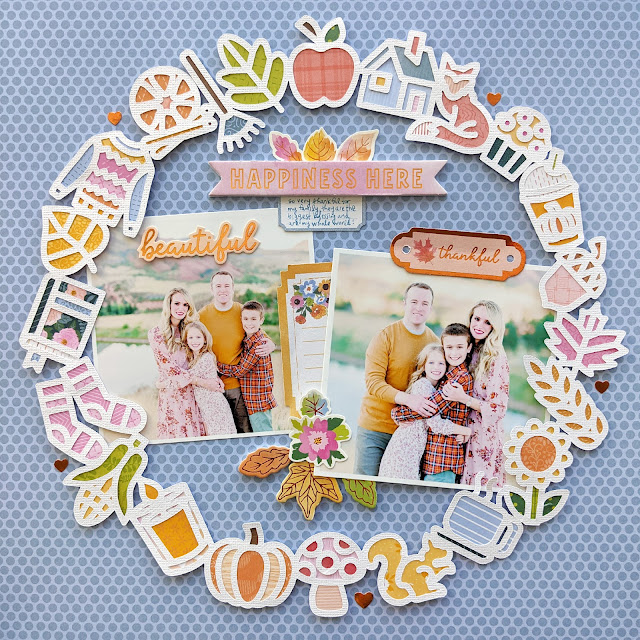
For my layout, I cut the Fall Wreath from white cardstock and then used lots of Garden Shoppe patterned papers to back it. Once backed, I used foam squares to adhere the wreath onto the periwinkle blue B-side of Paper 19. Inside the wreath I added two 4" square family photos then embellished with a title and leaves from the Foam Phrase Stickers, hearts, words, and flowers from the Cardstock Stickers, and journaling written on a label from the 8-Page Sticker Book.
Design Team Member Valerie Bisson created this stunning layout! She says, "I cut the Fall Wreath from Garden Shoppe Paper 15 and backed it using papers from the 12x12 Paper Pad. For my background I used white cardstock and splattered watercolors around in a circle to create a base for the cut file and my photo. I used Paige's BeautiFALL Cut File for my title which I switched from a cut to draw using the WRMK Foil Quill in gold. Then I embellished my page with all the leaves from the Cardstock Stickers and the 8-Page Sticker Book and scattered them all around the wreath. Lastly, I added a label from the Ephemera Die Cuts for the date. Thanks so much for stopping by and have a beautiFALL day!"
SUPPLIES: Patterned papers, die cuts, stickers, embellishments: GARDEN SHOPPE; white cardstock; watercolors; WRMK Foil Quill; Cut files: Fall Wreath from the 20 Days of Autumn Cut Files and BeautiFALL by Paige Evans
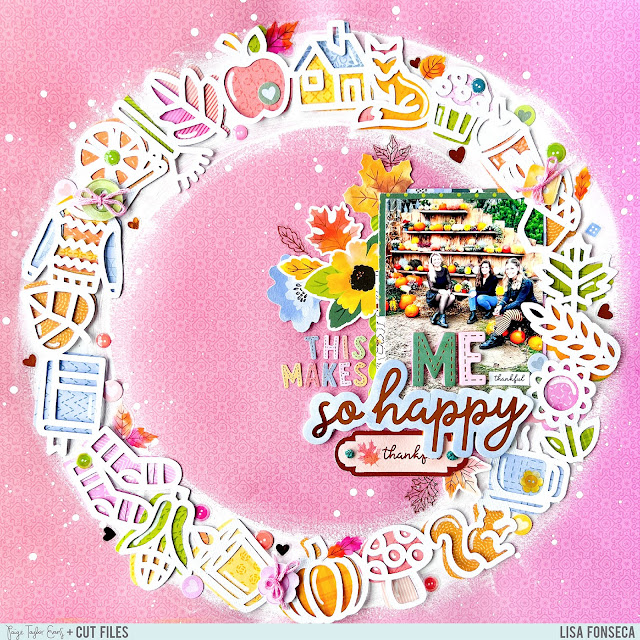
Design Team Member Lisa Fonseca created this bright autumnal layout! She says, "For this page I backed the Fall Wreath without adhering the pieces directly to it. I prepared my background Paper 5 from Garden Shoppe by painting a circle with white acrylic paint. I mainly used Paper 24 to cut out all of the little backing pieces. I then placed the cut file on the background as a guide and I adhered the pieces to that background paper. I rotated the cut file a tiny bit to make it look a little crooked over the cut out pieces and adhered it. I added my matted photo, Floral Die Cuts, buttons from the Ephemera Die Cuts, flower and leaf Cardstock Stickers, transparent leaves, buttons, and hearts from the 8-Page Sticker Book, and Enamel Button Stickers around the wreath and next to the photo. For my title, I used a Foam Phrase Sticker, Thickers, and tiny alpha stickers from the 8-Page Sticker Book. I hope you like the first layout I made with the new Autumn Cut Files and are excited to see more amazing projects!"
SUPPLIES: Patterned papers, stickers, Thickers, die cuts, embellishments: GARDEN SHOPPE; white cardstock; white acrylic paint; Cut file: Fall Wreath from the 20 Days of Autumn Cut Files by Paige Evans
Design Team Member Heidi Lewis created this colorFALL layout! She says, "To make this page I cut the Fall Wreath Cut File from white cardstock then I removed the wreath from my cutting mat and painted over it with Prima Pastel Dreams and Tropicals watercolors. I used another sheet of white cardstock for my background and added modeling paste through one of Paige's floral stencils for another layer of interest. I added a few watercolor splatters to the background and then attached the wreath using liquid glue. I finished off the layout with a 3x4 photo and embellishments from Garden Shoppe including the Thickers, Cardstock Stickers, Ephemera Die Cuts, and Leaf Die Cuts."
SUPPLIES: Patterned papers, stickers, Thickers, die cuts, embellishments: GARDEN SHOPPE; white cardstock; Pastel Dreams and Tropicals watercolors; modeling paste; Cut file: Fall Wreath from the 20 Days of Autumn Cut Files by Paige Evans
Purchase the 20 Days of Autumn Cut Files including today's cut file as well as all of the upcoming cut files HERE. You can also grab this cut file by itself HERE. See you again tomorrow with new inspiring projects!
19 more days of Autumn Cut Files to go!


Post a Comment