Hello crafty friends! Amber Mitchell here on Paige’s blog today to share with you a journal I created with the Garden Shoppe collection.
I love making journals so I’ve set a goal for myself to create one with every collection Paige releases. I’ve got a few under my belt now and I’m excited to be adding this colorful fall-themed one to my collection!
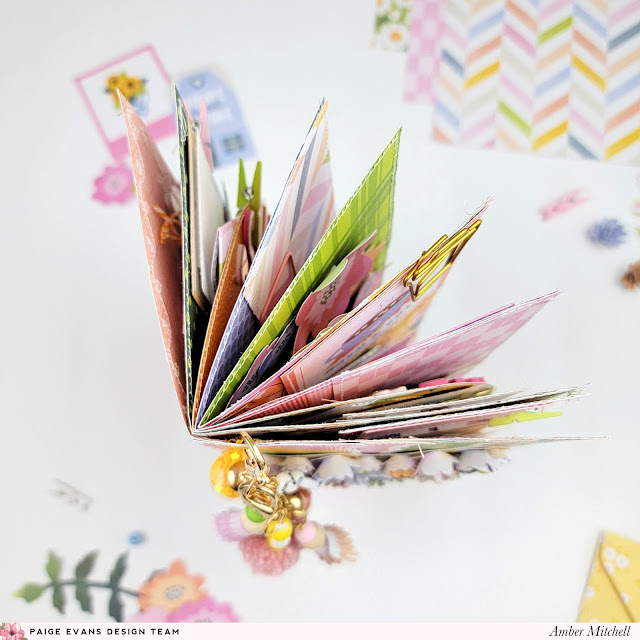
To create the base of this journal, I saddle-stitched pages of various sizes together using a needle and pink embroidery thread. Most of my pages are made from papers that measure 8 x 8 inches.
To add more character to the journal, I also created smaller pages by using cut-aparts that I trimmed into pairs of two and then folded in half. These cut-aparts were from Paper 1. The last type of page I used in this journal was a circle page that measured just under 8 inches in diameter.
To embellish the cover of this journal, I created a rolled flower heart using a few different Rolled Flowers cut files from Paige. I love how simple yet intricate this makes the cover look. I also added a clip of paper tassels and some charms to the front cover using an eyelet and large lobster clasp.
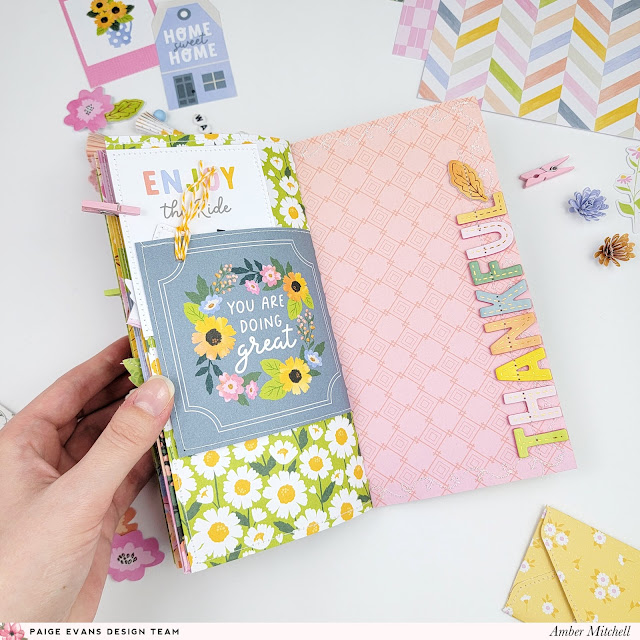
When making journals, I try to add elements that will create more space for memories. To do that in this journal, I added a few pockets throughout it. Two pockets were created using 2 x 8-inch papers and a circle punch, and the other pocket was created using the We R Memory Keepers Envelope Punch Board. I also created a small envelope for extra storage and clipped it onto an empty page using a mini clothespin.
With the base completed, I moved on to embellishing the journal. I used the Thickers and Foam Phrase Stickers from Garden Shoppe to create large titles throughout the journal.
To prep the journal for documenting, I also added photo mats. All of these photo mats measure 2 x 2 inches because I love including as many photos as possible, especially in small spaces. I created a photo strip with three 2 x 2-inch photos and clipped that to the opening page. I also created polaroid-style photo mats by cutting frames from Paper 16.
For journaling, I added a few die cuts from the Ephemera Die Cuts and added some sentiments that I fussy cut from Paper 23.
To finish everything off, I used a bunch of florals from the Floral Die Cuts and some fussy cut flowers from Paper 2 to create clusters. Amongst these flowers I added a few of the Butterfly Stickers and some of the Layered Stickers.
Thanks so much for stopping by my post today! I’ll see you next time with another fun project!
SUPPLIES: Patterned papers, die cuts, stickers, Thickers, embellishments: GARDEN SHOPPE; Envelope Punch Board; Cut files: Rolled Flowers by Paige Evans
Location: California, USA / Blog: Happy Crafty Studio / Instagram: @bambidearr / YouTube: bambidearr / Pinterest: bambidearr


Love it Amber!! Excellent!!
ReplyDelete