
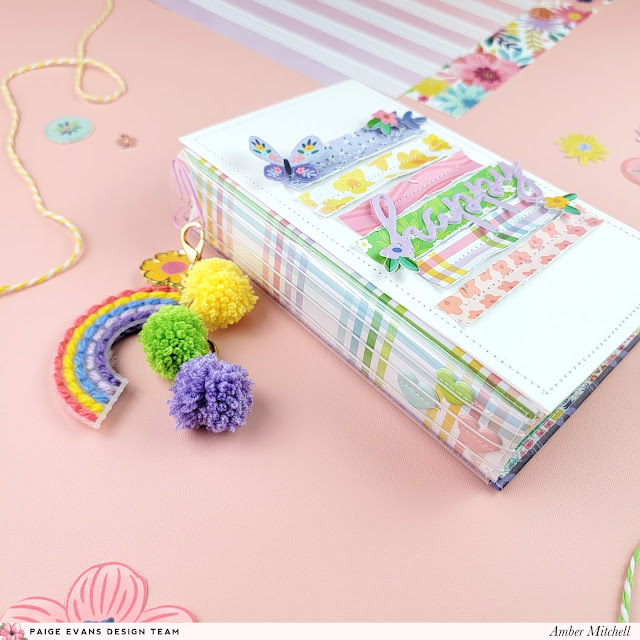
To create the covers of this project, I used two pieces of chipboard that measured 4 x 7 inches. I wrapped the front cover with a plain white sheet of cardstock. I wrapped the back cover using a dark navy patterned paper from the 12x12 Paper Pad. I created the spine using a trimmed down sheet of paper that measured 5 x 6.75 inches. I scored this paper on the 5-inch side at 1.75 inches on both ends (this gives the project a 1.5-inch spine). I then creased and folded along these scores lines and used the newly created tabs to attach the spine to the inside edges of both my covers. For a bit of extra fun, I added a thin sheet of acetate to the spine before doing this. It wraps around the outside of the spine and adds a bit more character and texture to the project! To finish off the base of this project, I added white elastic cord to the spine that I later used to bind my pages.
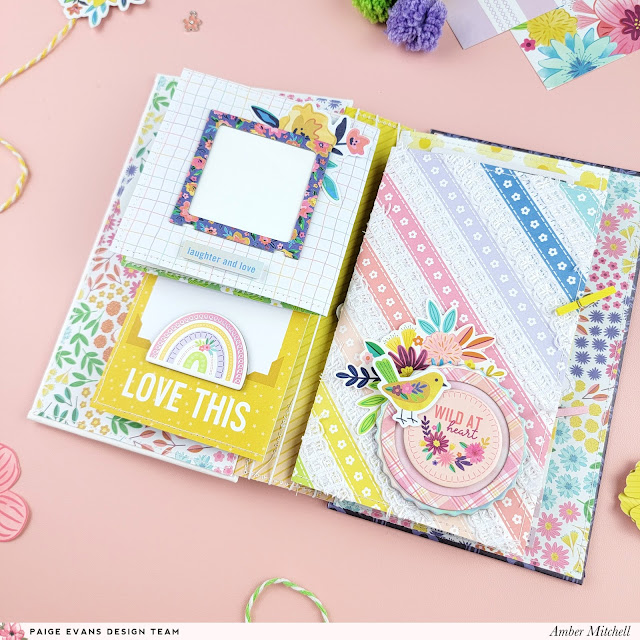
To create the first set of pages for this project, I used a pair of journaling cards that I cut from Paper 1. To the inside of these pages, I added a spot for journaling and a 3 x 4-inch photo mat.


I made the second set of pages by trimming a piece of paper down to 3.5 x 7.25 inches. I folded this paper in half and then added two 3.25 x 3.25-inch photo mats to the inside of the pages. To decorate the front cover of these pages, I used a mix of flowers from the Floral Die Cuts. On the back cover, I added a small photo mat that I outlined using a frame from the Chipboard Frame Stickers.


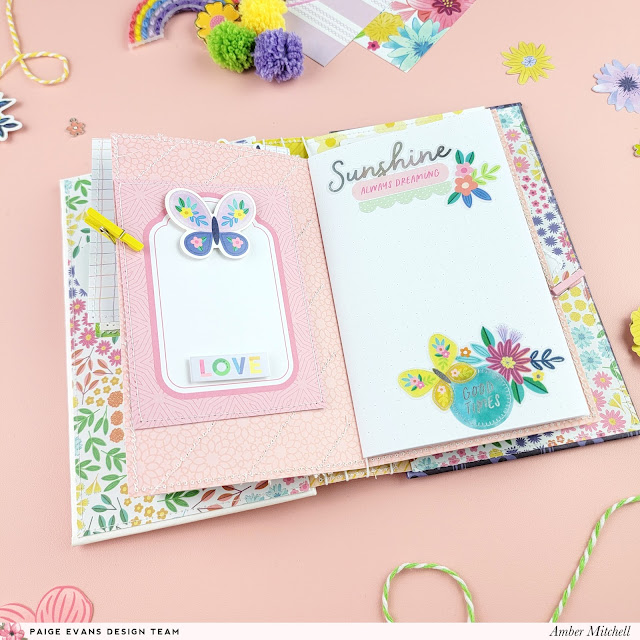
To add more space for journaling, I created two small journals using patterned paper and dotted paper. I created the first journal by folding a sheet of paper that I trimmed down to 5.75 x 7 inches in half. I then added a few sheets of dotted paper to the inside of this page. To embellish the cover of this journal, I machine stitched strips of trim to the empty spaces in the patterned paper. I was hesitant to try this, but in the end, I was really happy with the result and I loved how much extra texture it added. I then created a title for the cover of this journal by using a few of the Chipboard Stickers. I also clipped a couple of extra journaling cards to the front inside cover and back outside cover of this journal.
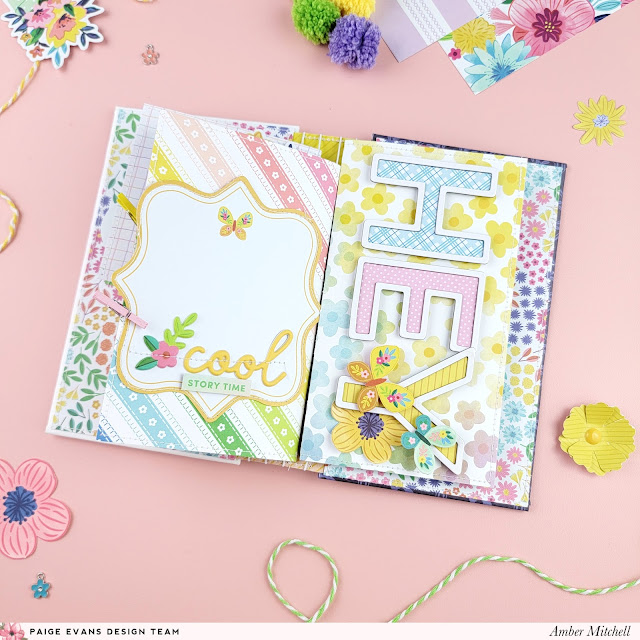
To create the second journal, I folded a sheet of paper that measured 6.5 x 7.5 inches in half. I also added dotted paper to the inside of this journal. To embellish the cover of this album, I used some of the letters from the Chipboard Alphabet Outlines to spell out "HEY". I added a couple of fussy cut butterflies on top of these and added another fussy cut icon, this time a flower, behind the "Y".
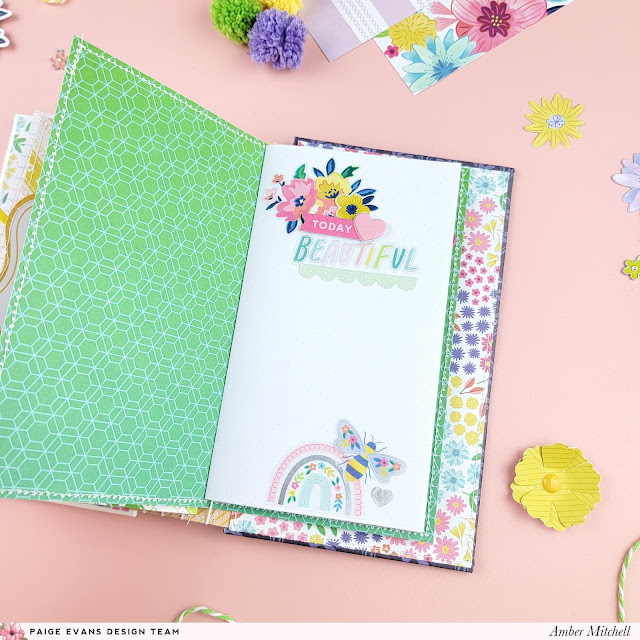
I used stickers from the Sticker Book to decorate some of the pages throughout both journals. Throughout the rest of the album, I used pieces and icons from the Journaling Spots, Ephemera Die Cuts, Puffy Phrase Stickers, and Cardstock Stickers to fill in any empty spaces and add some finishing touches!
To finish off the spine, I attached a fun and colorful mix of charms using a heart-shaped paperclip.
Thanks so much for stopping by my post today! I'll see you next time with another fun project!
SUPPLIES: Patterned papers, stickers, embellishments, die cuts: BLOOMING WILD

Location: California, USA / Blog: Happy Crafty Studio / Instagram: @bambidearr / YouTube: bambidearr / Pinterest: bambidearr

Location: California, USA / Blog: Happy Crafty Studio / Instagram: @bambidearr / YouTube: bambidearr / Pinterest: bambidearr


Post a Comment