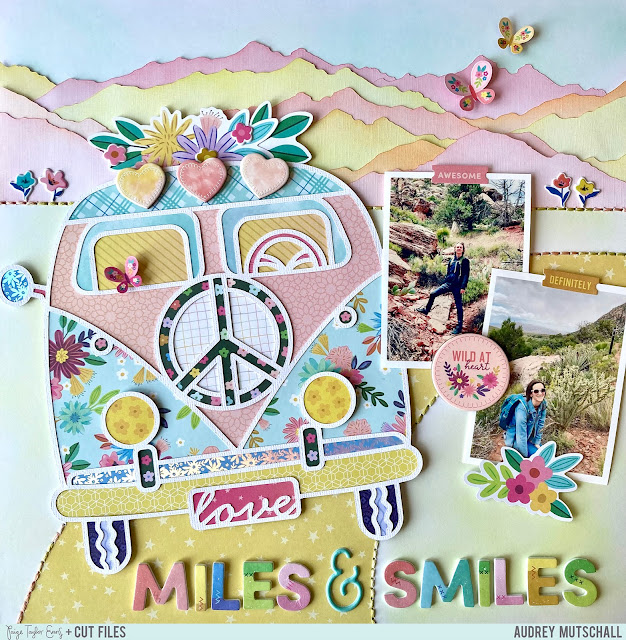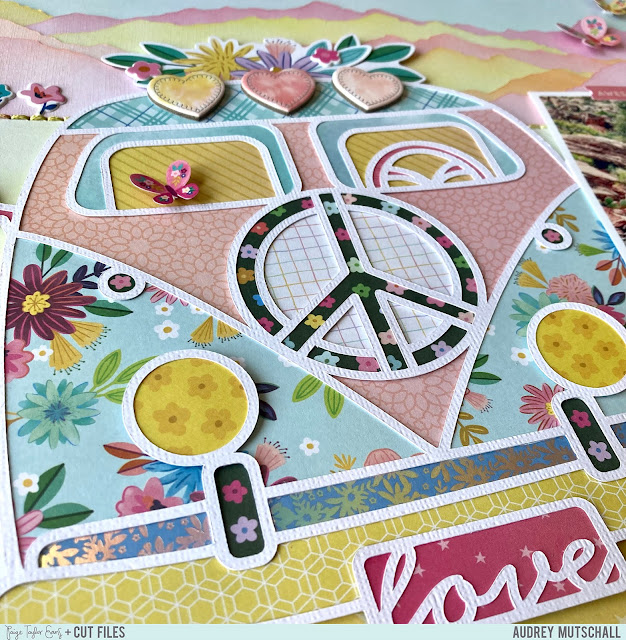
I used white cardstock for the cut file and backed it with patterned papers from the 12x12 Paper Pad and the 6x8 Paper Pad. I embellished the bus with Chipboard Stickers, Floral Die Cuts, and some Mini Flower Puffy Stickers. With the bus complete, I got to work on the background. I lightly inked a blue sky and green grass onto white cardstock using Catherine Pooler inks and then cut out mountains to layer across the background. I used inks in shades of yellow, pink, and peach to add color to the mountains, and then glued them to the background. Next, I cut a curvy pathway from yellow Paper 20, added it to the foreground, then stitched along the edges with variegated embroidery floss. With the scenery complete, I adhered the bus to the background using foam tape for extra dimension, and placed two photos to the right side of the cut file. My title runs along the bottom of the layout and is made using Foam Alpha Thickers. Lastly, I embellished the page with more Mini Flower Puffy Stickers, a Chipboard Round, stickers from the 8-Page Sticker Book, and some fussy cut butterflies from Paper 16.

I hope this inspires you to use this adorable Bus cut file to document those summer road trip photos along with the Blooming Wild collection! Paige’s bundle of 20 Summer Cut Files has so many adorable designs for all those summer memories.
SUPPLIES: Patterned paper, sticker, Thickers, die cuts, embellishments: BLOOMING WILD; white cardstock; Cut file: Bus from the 20 Summer Cut Files by Paige Evans

Instagram // Facebook // Pinterest


Post a Comment