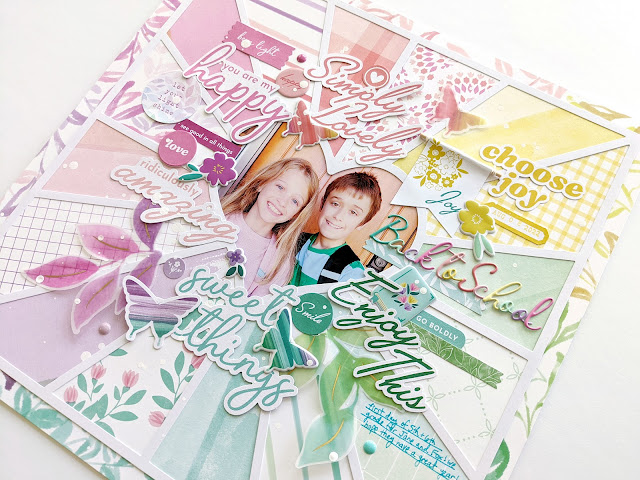
One of the layouts that I taught how to create with the Lovely Blooms collection at the Pinkfresh Studio May 2023 Create & Connect virtual event included a pre-cut floral frame cut file. While the cut file isn't available anymore, I still want to show how you can use floral die cuts paired with floral cut files to create a happy layout!
Trim off the barcode strip from the pink striped B-side of the Be Pleasant paper to use as the background. Apply liquid glue carefully across parts of the back of the pre-cut floral frame cut file then attach it to the center of the page. Overlap (2) 3x4” photos on the upper right side, tucked under the flowers. Instead of backing an intricate cut file such as this beautiful floral frame with itty bitty patterned papers, another fun technique is to layer die cuts on top!
Grab flowers and leaves from the Floral Ephemera (I used 8 different die cuts from the pack) as well as one flower piece from the Fabric Stickers, gently shape and bend them to create texture, then add glue on the back center only so the edges can lift up off the page and create shadows. On the top right corner, cluster a “so cute” label and “love this” pennant from the Cardstock Stickers, small round green flower from the Chipboard Stickers, floral heart from the Fabric Stickers topped with a floral cluster from the Puffy Stickers, and three blue Enamel Dots.
Create the title on the left side in the gap between the flowers using two large Puffy Phrase Stickers. Below the title add a sentiment puffy sticker and a journaling spot from the Cardstock Stickers. Write journaling with a blue pen on the journaling spot then finish with three blue enamel dots below.
Thanks for stopping by! Let me know if you have any questions and have a happy scrappy day!
SUPPLIES: Lovely Blooms collection by Pinkfresh Studio at SBC and ACOT: 12x12 Paper Pack, Cardstock Stickers, Ephemera Pack, Chipboard Stickers, Puffy Stickers, Journaling Bits, Puffy Alpha Stickers, Fabric Ephemera


.jpg)


